Slathering your face with oil probably sounds counterintuitive, especially if you already have oily, blemish-prone skin. But the Oil Cleansing Method, also known as “OCM,” could be the solution for getting rid of acne-caused dirt, blackheads and even serious cases of stubborn, cystic zits.
The Oil Cleansing Method is based on the principle that oil dissolves oil (a basic rule of chemistry), which means that putting oil on your skin can help minimize, or reduce, the amount of oil your skin is producing (1).
With excess oil or sebum production being a primary cause of breakouts, this is one way the Oil Cleansing Method can help prevent and clear up pimples while still keeping the skin moisturized.
The Oil Cleansing Method recommends replacing your facial cleanser with a pure, organic, cold-pressed oil(s). It’s said that natural oils can help deep clean your pores, remove bacteria, and nourish your skin, which is why it’s suitable for acne and won’t cause acne breakouts. Replacing your facial cleanser with natural oil can help clean your pores.
In addition to their cleansing mechanism, natural oils also contain several skin supportive nutrients, such as omega-3 and omega-6 essential fatty acids. These healthy fats are essential for nourishing and hydrating the skin, as well as promoting an overall brighter, clearer complexion. Let’s not forget: your skin is your largest organ, and it needs nutrients, too!
Want naturally radiant skin? We’ve created a FREE guide to give you the best tips & tricks for natural skincare. Click here to grab your copy!
Certain oils also have astringent properties, which means they can help tighten and reduce the size of pores. For this reason, it’s recommended you choose at least one astringent oil for oil cleansing.
Which Oil(s) Should You Use for Oil Cleansing?
Since everyone’s skin reacts differently, there’s no right or wrong oil to use when it comes to oil cleansing. While that sounds vague, the well-seasoned “OCM experts” recommend experimenting with one or two oils at a time to see how your skin reacts.
Finding the “sweet spot” of oil combinations depends on whether or not your skin feels dry or too oily after cleansing, and, of course, whether or not your skin’s texture and severity of breakouts improve.
The good news is that high quality oils do very little harm to the skin. If anything, your skin may react negatively to a specific oil with a little bit of dryness or a few minor comedogenic bumps (which can occur when the skin becomes clogged with oil). It seems one of the most common oils this happens with is coconut oil. If coconut oil clogs your pores, try rosehip oil instead.
According to Acne.org, coconut oil has a score of 3 / 5 on the comedogenic scale, which rates ingredients based on their ability to clog pores (2).
If you’re unfamiliar with the comedogenic scale, a lower score suggests an oil is unlikely to clog pores. So, if you’re more prone to whiteheads and acne, you may want to stick to oils that are lower on the comedogenic scale, such as rosehip oil (which is rated a 1 / 5).
The Comedogenic Scale
0 – Will Not Clog Pores
1 – Low
2 – Moderately Low
3 – Moderate
4 – Fairly High
5 – High
Note:
It should be mentioned that as a deep cleaning method for your pores, OCM may produce an initial “detox” reaction after the first week of cleansing. This is actually a good thing, because it means the combination of oils (or single oil) you’ve chosen is working to remove dirt and impurities from your pores.
If you experience persistent breakouts and clogged pores after more than a week of OCM, it may be time to experiment with a different combination of oils.
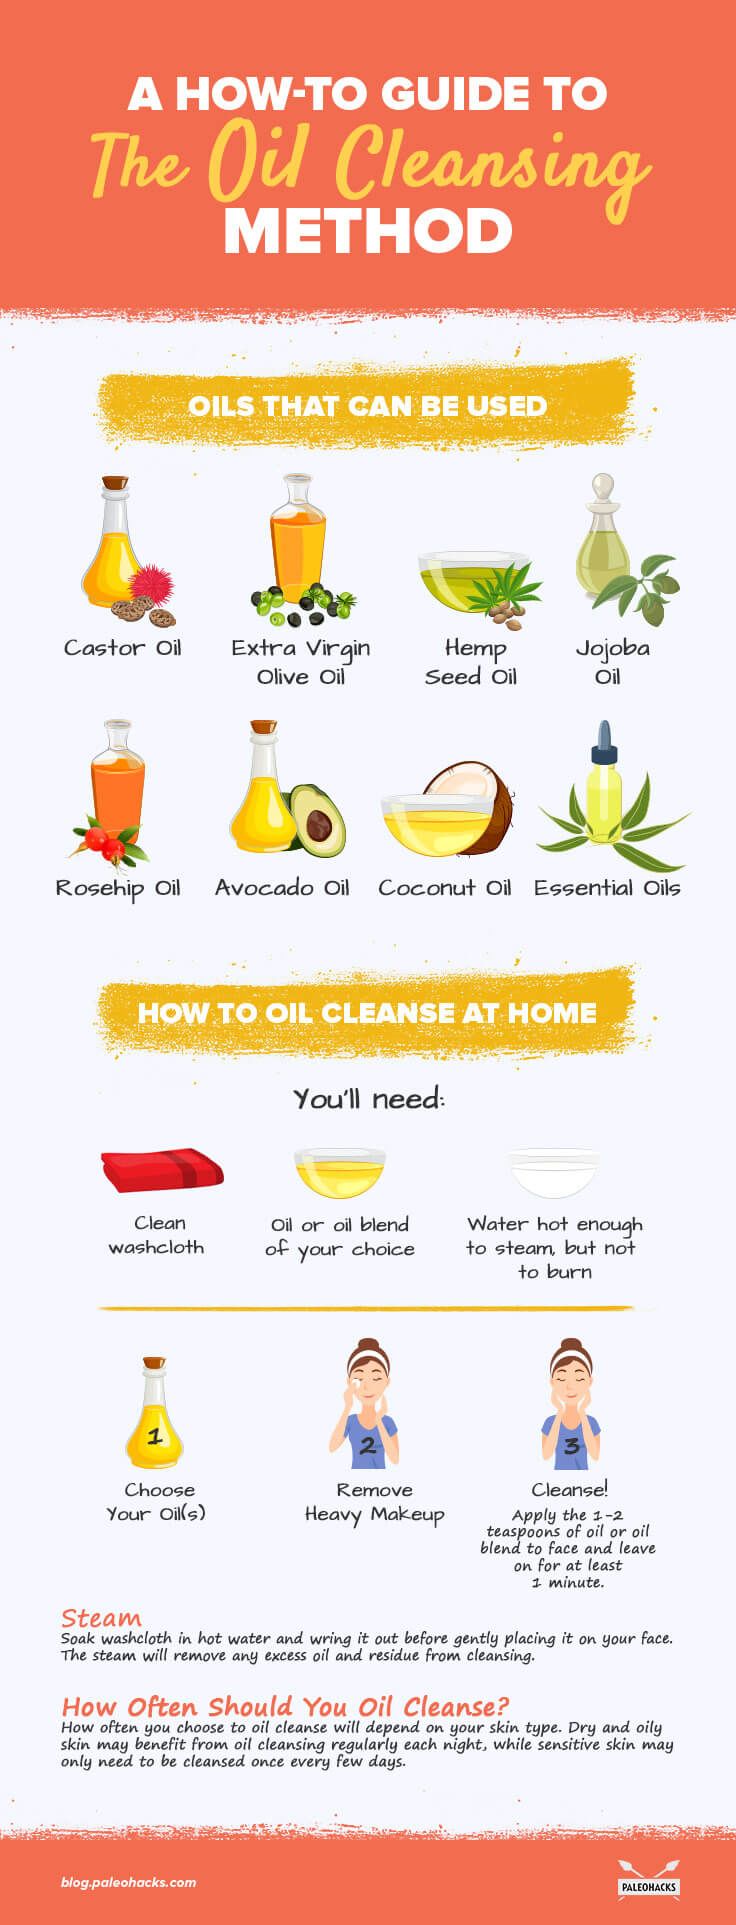
Oils Used for the Oil Cleansing Method
As mentioned above, all oils should be 100% organic, cold-pressed and pure. The quality of oils you use for oil cleansing will directly impact your results. A heavily processed oil full of solvents, chemicals and impurities will only add more grime to the skin.
Here are the types of oils that have been shown to get results on their own or in combination with other oils (again, depending on your skin type).
Castor Oil
Castor oil is an astringent oil, which is why it’s commonly used in the OCM to help prevent breakouts.
Castor oil should be used in smaller amounts, and should always combined with another oil because it can be harsh and overly drying, which strips the skin of natural moisture.
Castor oil should be combined in a 1:2 ratio with other oils. For example, 1 part castor oil and 2 parts olive oil.
Comedogenic Rating: 1 / 5, which means it’s a low-clogging oil.
Extra Virgin Olive Oil (EVOO)
EVOO can be used in combination with other oils or on its own. Since olive oil is highly moisturizing, it’s suitable for dry or combination skin.
Comedogenic Rating: 2 / 5, which means it’s a low-clogging oil.
Hemp Seed Oil
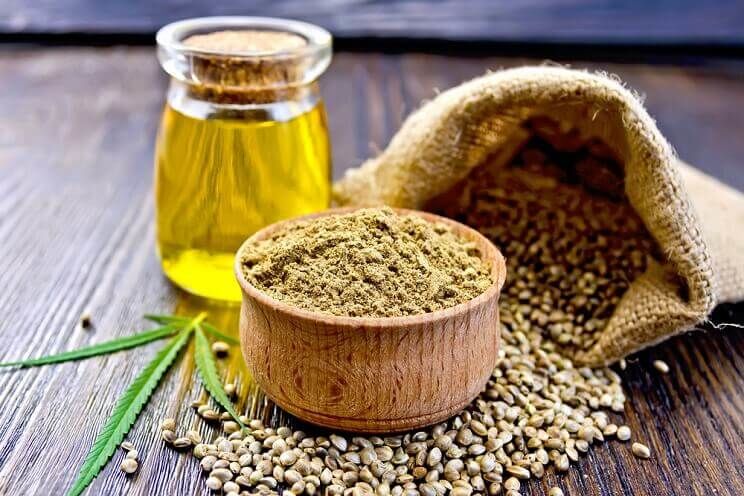
Hemp seed oil is one of the best oils to use for acne-prone skin because it has a comedogenic rating of 0, which means it won’t clog pores. Hemp seed oil is also rich in omega-3 essential fatty acids, which can help repair damaged skin when applied topically (3).
Hemp seed oil can be used alone for oil cleansing or in combination with other oils.
Comedogenic Rating: 0 / 5, which means it won’t clog pores.
Jojoba Oil
Jojoba oil is recommended for sensitive skin. While jojoba oil is moisturizing, it’s actually more of a wax ester than it is an oil (4). This doesn’t mean jojoba oil is useless for oil cleansing, but you may want to combine it with another oil that has strong astringent properties, such as castor oil.
Comedogenic Rating: 2 / 5, which means it’s a low-clogging oil.
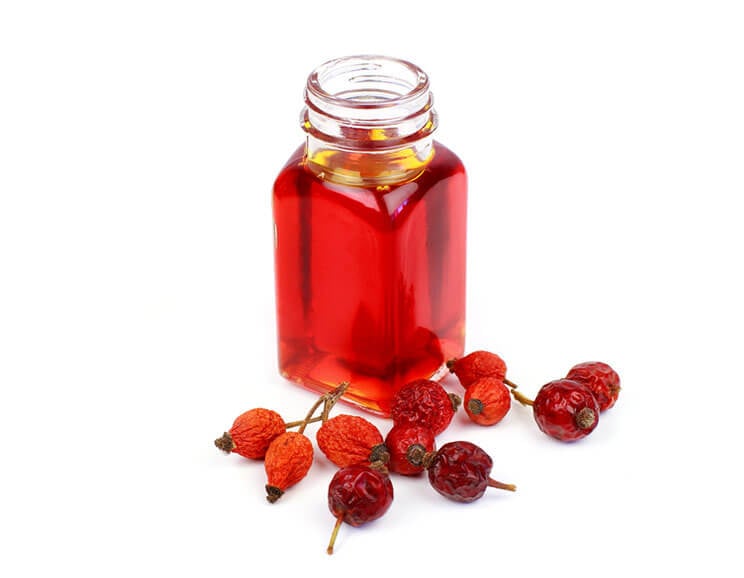
Rosehip Oil
Rosehip oil is rich in the antioxidant vitamin C, which is a nutrient the skin needs to help produce collagen and keep the skin looking firm and supple (5). If you’re trying to combat fine lines or wrinkles, rosehip oil is ideal to use for oil cleansing.
Comedogenic Rating: 1 / 5, which means it’s a low-clogging oil.
Avocado Oil
Avocado oil is highly moisturizing, and is suitable for dry or sensitive skin.
Comedogenic Rating: 2 / 5, which means it’s a low-clogging oil.
Coconut Oil
Although coconut oil is an oil, which means you’d naturally assume it moisturizes, coconut oil has been found to have drying properties when applied topically, which may worsen dry or acne-prone skin.
The drying effects of coconut oil may be why coconut oil has mixed reviews when it comes to oil cleansing as well as natural DIY beauty care products in general.
Comedogenic Rating: 4 / 5, which means it’s likely to clog pores. Those with acne-prone skin should avoid using coconut oil in OCM, and instead stick to low comedogenic oils such as rosehip or hemp seed oil.
Essential Oils
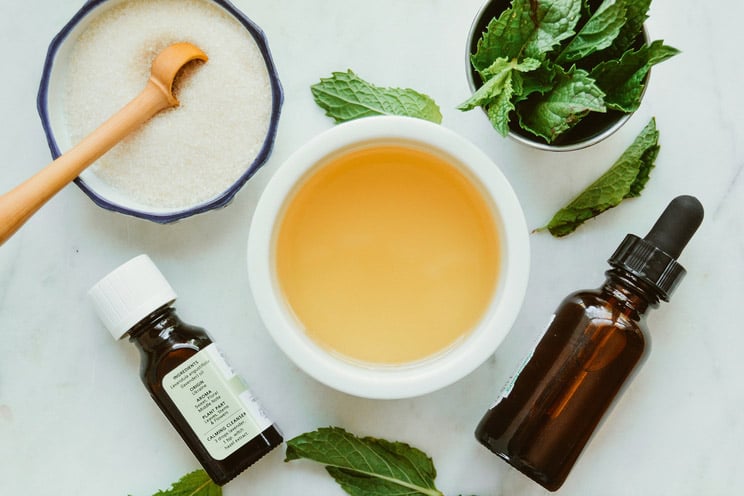
Essential oils can also be used in very small amounts to spruce up your oil cleansing concoctions.
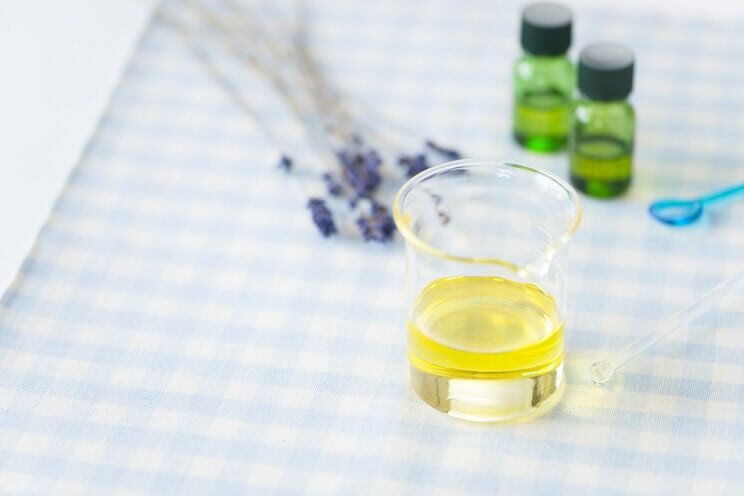
A few oils that are commonly used for oil cleansing based on their antibacterial properties are tea tree oil and frankincense (6). Lavender essential oil can help relieve skin irritation, while neroli can help reduce redness. Lavender essential oil can help relieve skin irritation.
Since essential oils are extremely powerful when they’re not diluted, only 1-4 drops of an essential oil is needed for oil cleansing, especially if you have sensitive or dry skin. And while I hate to sound like a broken record, the essential oils you use for OCM must also be pure and high quality to receive their health benefits and avoid skin reactions.
While these are the most common oils used for oil cleansing, hazelnut oil, almond oil, safflower oil, sunflower oil, grapeseed oil, neem oil and seabuckthorn oil can also be used. As mentioned above, the most important guideline to follow when it comes to oil cleansing is to make sure you use an organic, cold-pressed, unrefined oil.
Otherwise, have fun experimenting and finding your perfect oil cleansing combinations!
Now that I’ve given you the rundown on the benefits of using the oil cleansing method for improving your skin, let’s take a look at how to oil cleanse at home.
Comedogenic Rating: N/A Since most essential oils, such as tea tree, have antibacterial properties, they keep your pores clean and are less likely to contribute to clogging.
How to Oil Cleanse at Home

- Clean washcloth
- Oil blend of your choice
- Hot/warm water
1. Choose Your Oil(s)
The first step for starting an oil cleansing ritual is to choose your oils. If you’re using more than one oil, the recommended guideline for combining oils is to do equal parts of each oil, with the exception of castor oil and essential oils, which must be used in smaller parts.
Personally, I love keeping it simple and only using hemp oil for oil cleansing. This is because I know hemp oil doesn’t clog my pores, and I like seeing consistent results from using one oil alone. Plus, using only one ingredient makes my cleansing routine as simple as possible, which makes me more likely to stick to it. The first step of oil cleansing is creating a customized set of oils for your skin type.
That being said, the right oil / oil combination for you will depend on your skin. For example, if your skin is on the drier side but also acne prone, you may benefit from a more “complex” combination, such as rosehip oil and hemp oil (which are non-clogging), plus extra virgin olive oil for added moisture. So your combination might look something like this:
⅓ rosehip oil + ⅓ hemp seed oil + ⅓ extra virgin olive oil
2. Remove Heavy Makeup
Certain oils can act as a makeup remover and remove small amounts of makeup. If you’re wearing waterproof mascara, eyeliner or heavy foundation, you’ll want to remove all of your makeup with makeup removing wipes before oil cleansing.
3. Cleanse!
Once heavy makeup is removed, you’re ready to cleanse. Start cleansing your skin by applying the oil or oil blend directly to your face (approximately 1-2 teaspoons), massaging the oil onto the surface of your skin. Be sure to focus on the areas where makeup and sweat linger most, such as your forehead and nose.
Massage the oil for at least one minute to ensure the oil has penetrated your skin. The longer you leave the oil on your skin, the deeper your pores will be cleansed, so this part is up to you. Some people choose to keep the oil on their skin for at least 5-10 minutes to experience maximum cleansing benefits.
4. Steam
Rather than rinsing off the oil, you’ll use a clean, warm washcloth to steam and remove oil residue.
Cover your washcloth in warm water and wring it out before opening it and gently placing it on your face. The steam will remove any excess oil and residue from cleansing.
Once you’ve “steamed away” the oil on your skin, there will still be a thin layer of oil left behind. This is good because it will keep your skin moisturized and continue to cleanse your pores.
How Often Should You Oil Cleanse?
How often you choose to oil cleanse is up to you, because it will vary based on your skin type. Dry and oily skin may benefit from oil cleansing regularly each night, while sensitive skin may only need to be cleansed once every few days.
While you can oil cleanse in the morning or evening, oil cleansing before you go to bed is most beneficial to remove impurities from makeup and the environment—not to mention, it’s a great way to relax, unwind and practice self-care at the end of the day.
Oil Cleansing FAQs
I’ve been oil cleansing and am not seeing results. How long does it take the oil cleansing method to work?
Don’t lose hope; everyone’s skin is different, which is why oil cleansing can work fast and provide excellent results for one person but not for the next. If you aren’t seeing results with oil cleansing, there are a few things you can do:
- Switch the type of oil you’re using.
If you haven’t noticed results after oil cleansing for two weeks, your skin may be asking for a different type of oil. Initially, it can help to use only one oil at a time so you can pinpoint which oil your skin isn’t going crazy for.
- Use the OCM in moderation.
Some people experience better results with oil cleansing when they treat it as an occasional cleansing method—similar to that of a facemask—rather than a nightly routine. Since the oil cleansing method is like a “deep clean” for your skin, it has the potential to dry out skin and irritate sensitive skin. Sometimes less really is more!
My skin has started breaking out after oil cleansing. What should I do?
If you’ve ever had a facial, you may have been told to expect your skin to breakout. This is mostly due to the ingredients in the facial helping your skin “push out” impurities. Basically, “it has to get worse before it gets better.”
As a deep cleansing method, oil cleansing can cause the same reaction. If you’re new to oil cleansing, try reducing the number of times you oil cleanse per week. Start with once a week and work your way towards 2-3 times per week. If you have acne-prone skin, be sure to use a non-comedogenic (non-clogging) oil, such as rosehip or hemp oil. With oil cleansing, sometimes your skin has to get worse before it gets better.
Which cleansing oil is best for acne?
The best oil for cleansing will depend entirely on your skin. This is why using one oil at a time (rather than a combination of oils) at first can help you determine which oil works with your skin, and can be safely combined with other oils in the future if you do decide to use more than one.
Can you apply other products to your face after oil cleansing?
It’s best to do your toning and exfoliating before oil cleansing, so the thin layer of oil that’s leftover on your skin after oil cleansing can moisturize your skin overnight. Remember: even oily skin benefits from moisture!
What’s the best way to mix or combine oils?
If you’re using an oil that requires refrigeration (such as hemp oil), mix your oil in a small dish right before use, not in advance. If the oil you’re using is stable at room temperature, you can mix your oils together in advance and store in a glass airtight container.
(Read This Next: 4 Easy, Natural Homemade Face Mask Recipes)








 Creamy Cauliflower Bacon Chowder Recipe



Show Comments