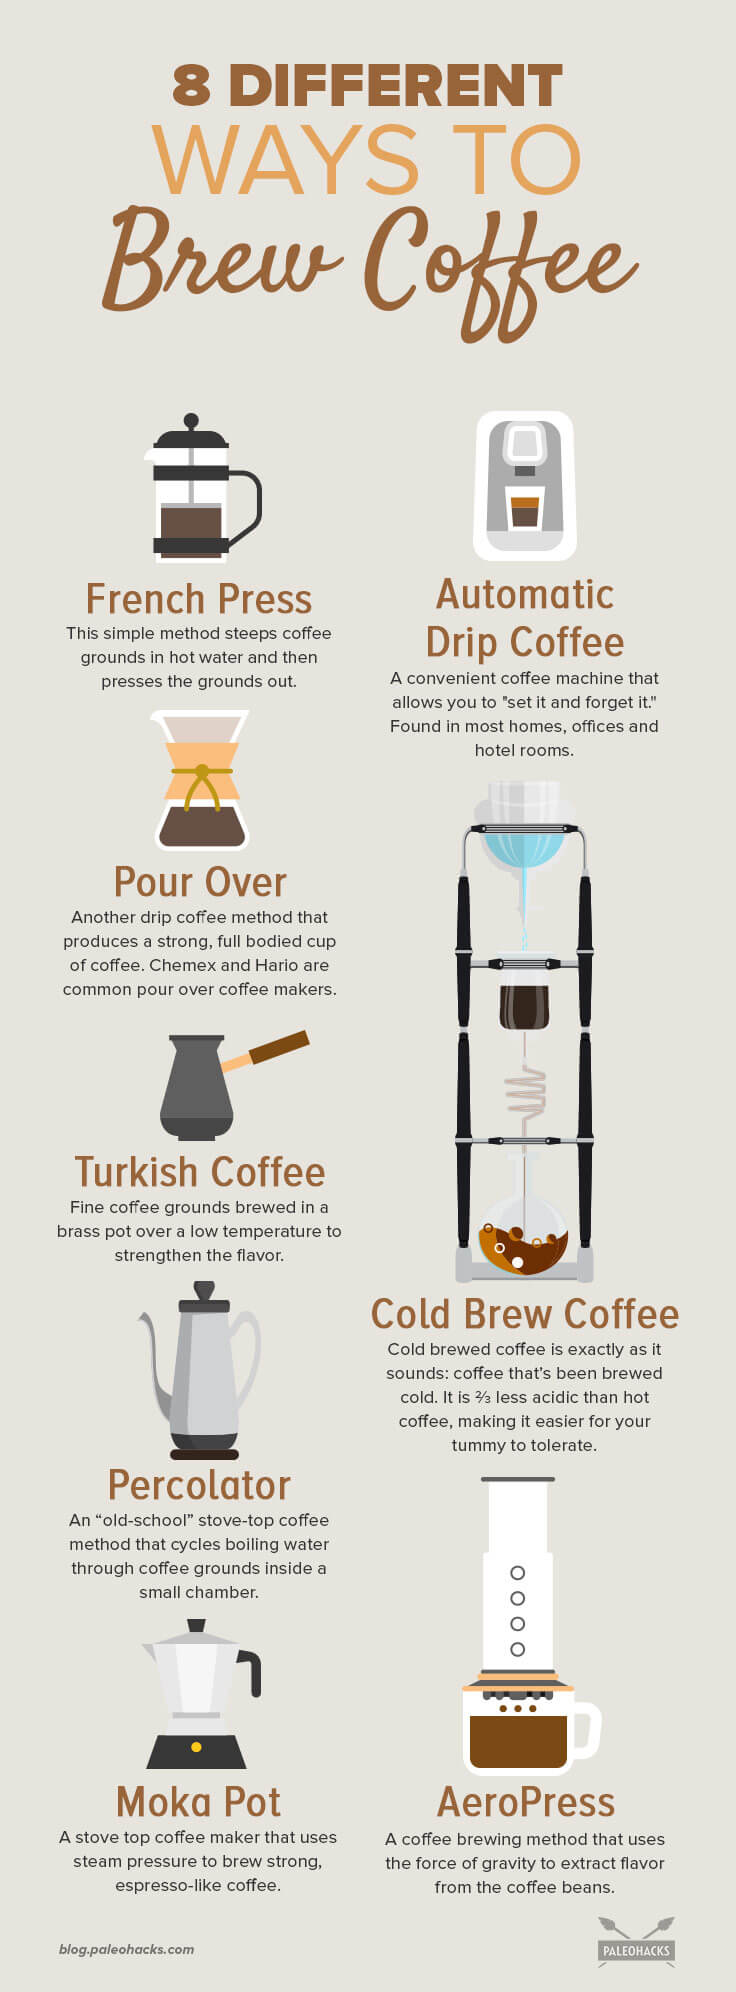
With countless coffee brewing methods available to us today, you may be wondering: “Does it really matter if my morning cuppa comes from a French Press, or a drip coffee machine? And what the heck is a percolator?”
Any coffee lover would agree that the method you use to brew your beans does make all the difference in the aroma, texture, freshness, and taste you end up with in your cup.
The coffee brewing method you use can also determine the nutritional value and the amount of antioxidants in your java, and may even help reduce your exposure to the carcinogenic chemicals that occur with certain coffee brewing techniques.
Want to go Paleo? Not sure where to start?
Start with this FREE Paleo For Beginners Guide Today!
Let’s look closer at the key differences, and benefits, in eight different coffee brewing methods so that you can decide which one is right for you.
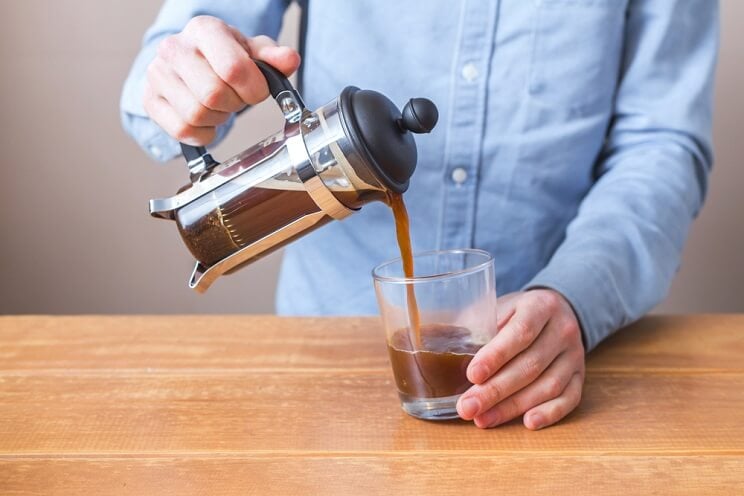
French Press
Benefits:
- The coffee beans only come in contact with the French Press and hot water (opposed to passing through a filter), which yields a stronger cup of coffee in terms of caffeine content and flavor.
- A glass or stainless steel French Press is considered one of the “cleanest” coffee brewing methods, because it doesn’t use the bleached paper coffee filters that contain chemicals, called dioxins and epichlorohydrin, which become carcinogenic when they come in contact with water. (1, 2)
- “Boiled” coffee brewing methods help preserve the antioxidants found in coffee beans, such as chlorogenic acids. Chlorogenic acids are the reason why coffee is said to have protective effects against Alzheimer’s, Parkinson’s, and dementia. (3)
- The strength of brew in a French Press is easy to customize.
Caffeine Amount: Average of 107.5 mg per 8 oz cup.
French Press Coffee

French Press Coffee
Tools
- French Press
- A kettle (for boiling hot water)
Ingredients
- Boiling hot water
- Coffee grounds (2 T per 1 cup of water)
Instructions
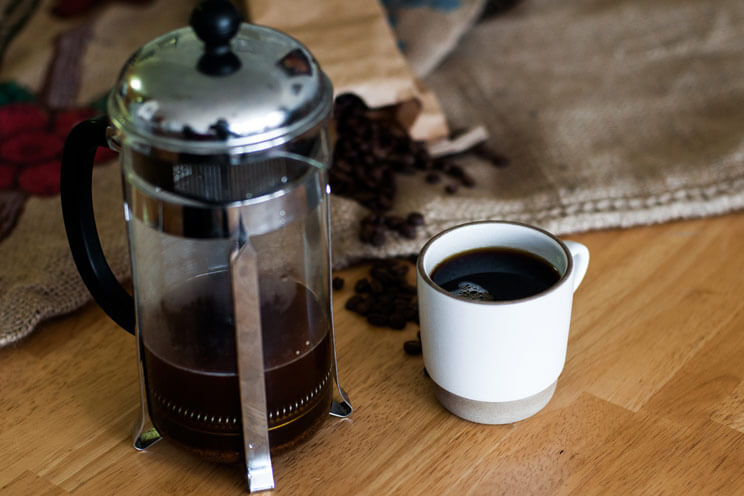
- Measure the ground coffee and place in the French Press.
- Allow the boiling water to cool for 1 minute, slowly pour into the French Press. Stir brew.
- Steep the coffee between 3-5 minutes.
- Press the plunger to the bottom and drink immediately.
Automatic Drip Coffee
Benefits:
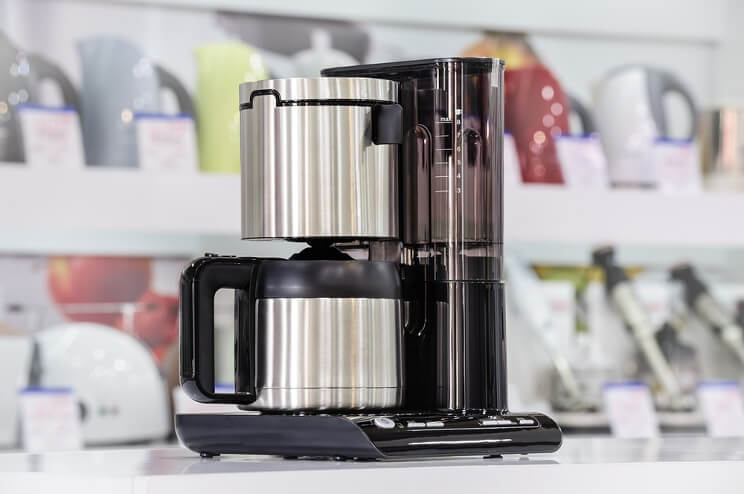
- You can set it before you go to bed so that your morning coffee has already started brewing when your alarm goes off.
- High-end automatic drip coffee makers have many unique features, such as built-in coffee bean grinders, a “keep warm” time setting, and choosing the length of brewing time which can alter the strength and flavour.
- Although drip coffee makers may yield a slightly weaker brew than “boiled” coffee brewing methods (due to the fact that the grounds are filtered), the filter has been shown to prevent an oily compound found in coffee beans, that blocks the cholesterol-regulating receptors in your intestines (4), from passing through.
In other words, drinking several cups of “boiled” coffee each day, may contribute to raising your LDL cholesterol levels (which is more of a concern if you have a diet high in refined sugar and fats), while filtered coffee won’t contain this fatty acid.
Important Note About Coffee Filters:
Standard white paper coffee filters are bleached with chlorine, and contain carcinogenic chemicals such as epichlorohydrin and dioxins. (5, 6) Dioxins are a byproduct of paper bleaching, and can accumulate in tissues and disrupt hormones. (7, 8)
While it’s unclear exactly how much of these chemicals can wind up in your cup, it’s safer to stick to unbleached paper coffee filters, or better yet, switch to reusable hemp coffee filters which are better for you and the environment.
Caffeine Amount: Since the beans are in contact with the water for longer periods of time when using a drip method, drip coffee is higher in caffeine at roughly 145 mg per cup.
Automatic Drip Coffee


Automatic Drip Coffee
Tools
- Automatic coffee maker
- Unbleached paper or hemp coffee filters
Ingredients
- Ground coffee beans
- Water
Instructions
- Place the ground coffee in the filter.
- Pour the water into the reservoir.
- Hit the “brew” button.
- Adjust the other settings as necessary.
Pour Over
Benefits:
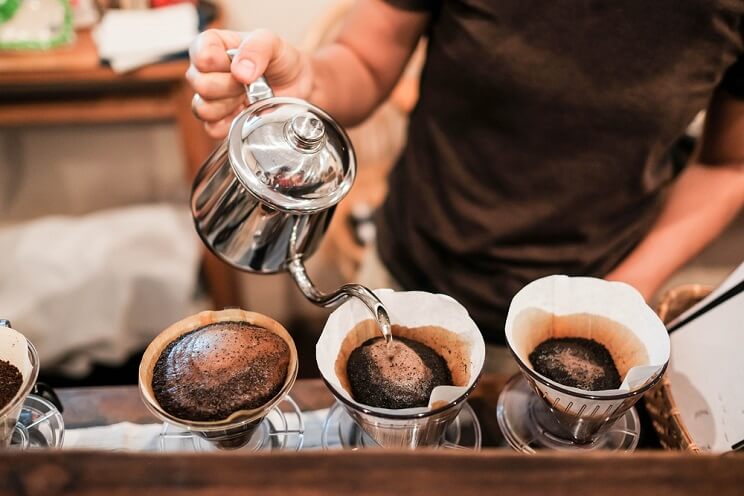
- Yields a stronger and more intense flavor because it wets the coffee grounds evenly, which better extracts the unique notes and flavors from the coffee beans.
- The pour over method allows you to have complete control of the taste, strength and water temperature.
- Chemex filters are designed to remove sediment, oils and fatty acids, which is also said to make the coffee flavor richer and eliminates the undesirable parts of the coffee bean.
- The Chemex is made from glass. This is a preferable option compared to plastic, which contains endocrine disrupting chemicals, such as BPA, that may leach into hot beverages (9).
Many coffee experts claim there is a “craft” to using the pour over. You have to use a high quality, specifically ground coffee bean (coarse grind only), and a specific type of filter and water temperature. Most experts also agree that once you get it right, it’s worth it.
Caffeine Amount: Since the beans are in contact with the water for longer periods of time when using a drip method, drip coffee is higher in caffeine at roughly 145 mg per cup.
Pour Over Coffee
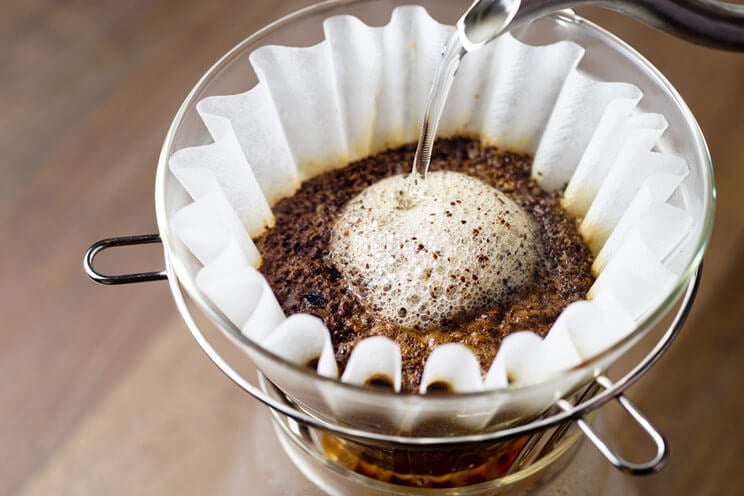

Pour Over Coffee
Tools
- A pour over coffee maker (such as a Chemex)
- Pour over coffee filters (Chemex filters if you’re using a Chemex)
- Filter holder
Ingredients
- Hot (not boiling) water
- Course ground coffee beans (should be similar in texture to brown sugar)
Instructions
- Boil the water and allow it to cool for 1-2 minutes.
- Place the dripper on the pour over machine, and the filter into the dripper.
- Add the grounds to the filter, making sure the grounds are leveled.
- Pour ¼ cup of water over the coffee grounds slowly, making sure all of the grounds have been wet evenly.
- Wait 30 seconds.
- Pour the rest of the water over the grounds in 2-3 equal parts, pausing between pours to allow the coffee to be extracted evenly.
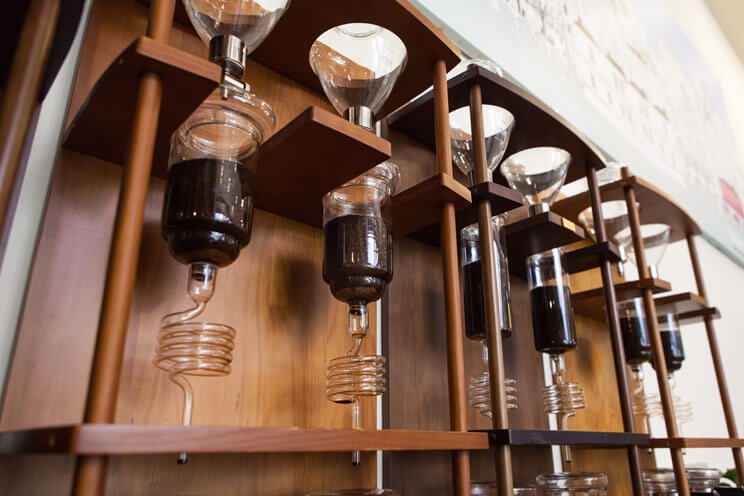
Cold Brew Coffee
Benefits:
- Approximately ⅔ less acidic than hot coffee, which makes it better tolerated for those who have conditions that are aggravated by acidic foods (for example, acid reflux).
- When coffee is brewed cold instead of hot, the lower acidity produces a naturally sweeter taste.
- Cold brew is steeped for 18-24 hours in the fridge, which produces a coffee that’s richer in flavour.
- It doesn’t go stale as quickly as hot brewed coffee, so you can make a batch ahead of time to last you the week.
Caffeine Amount: The amount of caffeine in your cold brew will vary based on the beans you use. Cold brew coffee is higher in caffeine than hot brewed coffee because of the long steep time.
Cold Brew Coffee
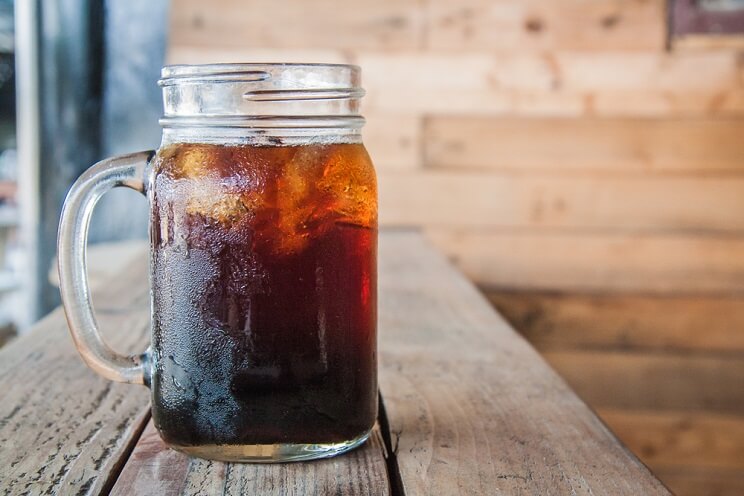

5 mins
Cold Brew Coffee
Tools
- A large glass jar with a lid or cover
- Sieve or cheesecloth
Ingredients
- Coarse ground coffee beans
- Cold water
Instructions
- Place the coffee grounds in the glass jar.
- Cover with cold water and stir until combined.
- Cover the glass jar with the lid.
- Let steep for 18-24 hours.
- Filter the coffee grounds with a sieve or cheesecloth into a large bowl, to remove the grounds.
- You now have your cold brew! Store it in the fridge and enjoy.
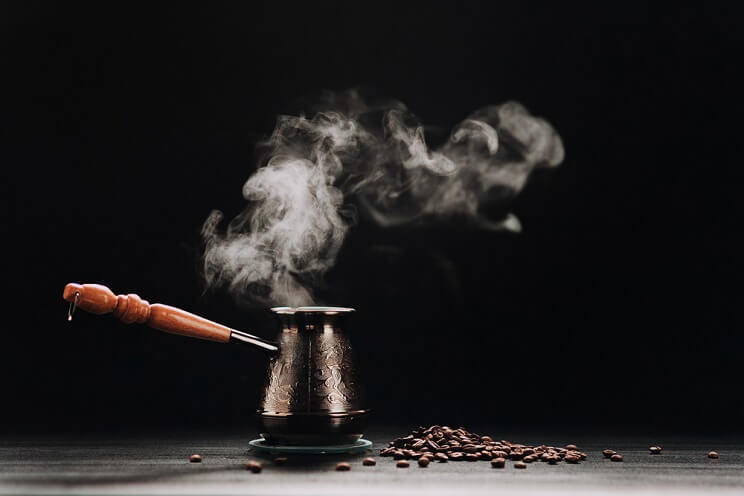
Turkish Coffee
Benefits:
- The lower brew temperature of Turkish coffee can eliminate the bitter taste of boiled coffee.
- You only need about ⅓ of the amount of coffee grinds required for other coffee methods.
- The addition of cardamom and cinnamon may help with digestion.
Caffeine Amount: 163 mg per 8 oz, or 61mg per 3 oz.
Turkish Coffee
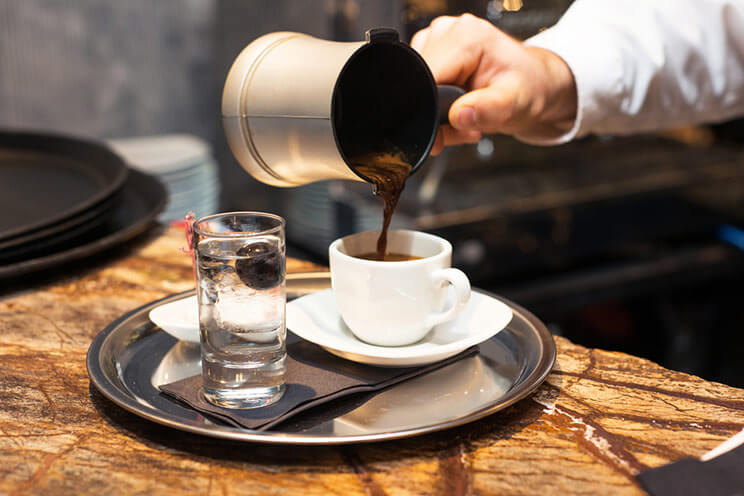

Turkish Coffee
Tools
- A brass or copper cezve
Ingredients
- Sugar (we recommend coconut sugar in place of white sugar)
- Water
- Fine coffee grounds
Instructions
- Measure the amount of cold water you need and pour into the cezve.
- Place cezve on stove and turn the heat to medium-high until the water heats up, but do not let it boil.
- Add your coffee (1-2 heaping teaspoons per 3 ounce cup).
- Do not stir the coffee, but let it float on the surface. This prevents it from clumping up and yields a smoother brew.
- Add sugar if using, but again, don’t stir.
- Once the coffee starts to sink into the water from the surface and the sugar dissolves, you can begin stirring and turn the heat down to low.
- Stir until a foam starts to form on the surface.
- Once you see the foam, turn down the heat and take your pot off the stove. This is when small bubbles will start to form. You can continue stirring at this point.
- Eventually, a thick froth will build, and Turkish coffee experts say that serving it at this stage is when the coffee will taste best.
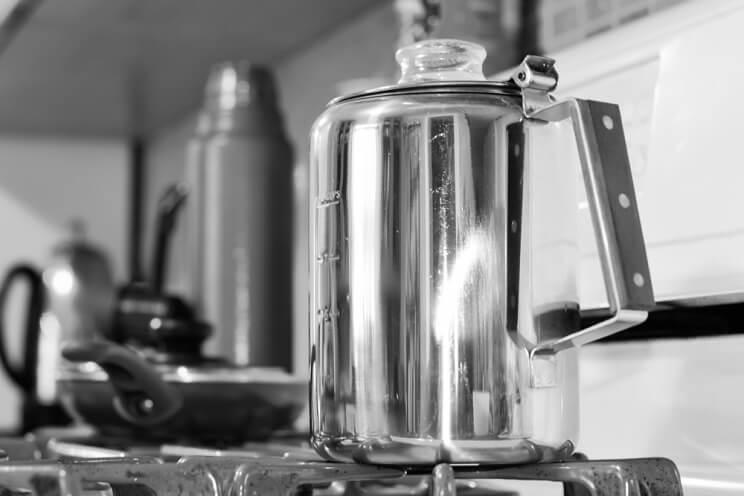
Percolator
Benefits:
- Keeps coffee hot for longer periods of time without burning it.
- Ideal if you’re making coffee for company: it yields 9-10 cups!
Caffeine Amount: Average of 200 mg per cup.
Percolator Coffee
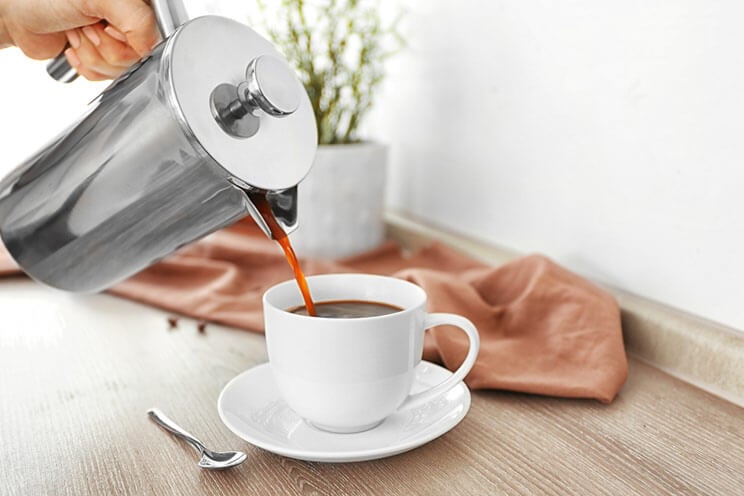

Percolator Coffee
Tools
- Percolator
- Stovetop or burner
Ingredients
- Water
- Coarse ground coffee
Instructions
- Wash the percolator thoroughly before use.
- Open the percolator.
- Measure the cold water (approximately 6-8 ounces of water per cup)
- Pour the water into the bottom chamber.
- Assemble the chamber with the stem and bottom chamber.
- Add the coffee to the top chamber (2 tsp of coarse ground coffee per cup)
- Place the percolator on the stove, or other heat source, and heat up gradually.
- Wait for the liquid in the bottom dome to begin bubbling or “perking”, which is when it’s ready to drink.
- If you’re using a manual percolator, remove it from the heat at this point to avoid burning the coffee.
AeroPress
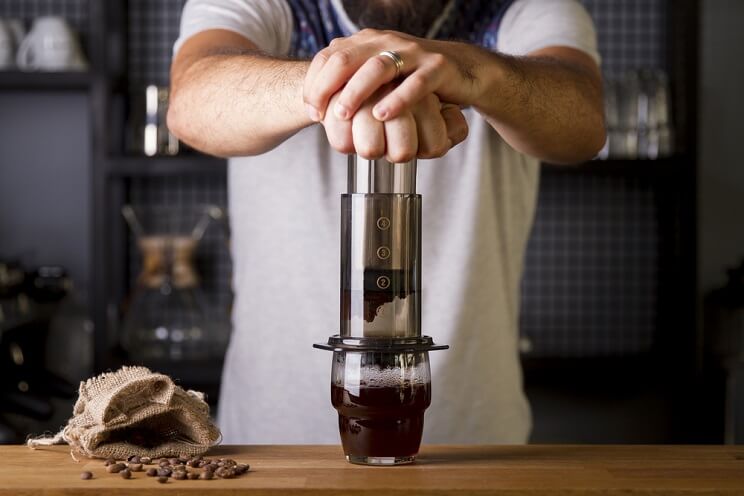
Benefits:
- Higher PH than drip coffee (less acidic).
- Only takes 30 seconds to brew.
- Lower caffeine content (roughly the same amount per cup as 1 shot of espresso).
- Inexpensive equipment (easy to find online or in specialty coffee shops).
- Travel friendly, since it’s light, compact, and made from plastic.
- “Pour and push”: simple, hassle-free brewing technique.
Caffeine Amount: Approximately 64mg of caffeine per single serving.
AeroPress Coffee
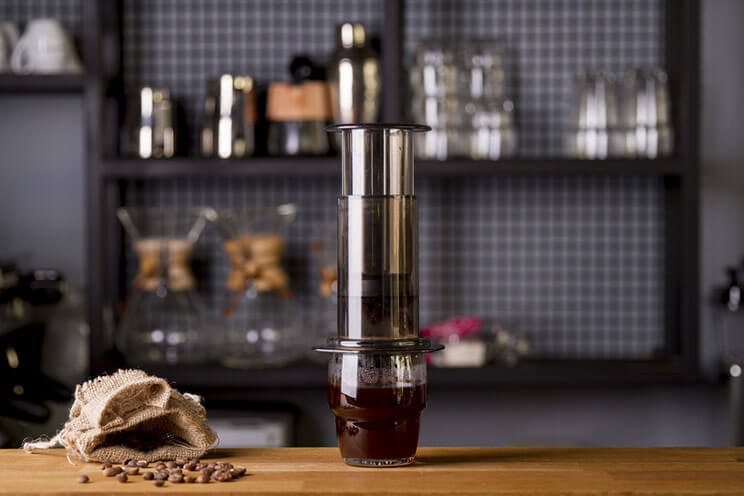

AeroPress Coffee
Tools
- An aeropress (it looks similar to a plunger)
- A cap for the end of the aeropress
- Aeropress filters (metal or standard paper filters)
- Coffee scoop measure
- A funnel for getting coffee grounds into the aeropress chamber
- Stirring spoon
Ingredients
- Ground coffee beans
- Boiling hot water
Instructions
- Bring water to a boil and allow it to cool for one minute.
- In the meantime, grind 4 T of coffee beans.
- Place the filter inside the AeroPress cap.
- Place the cap on top of a coffee mug. If using a paper filter, wet the filter with a small amount of room temperature to warm water.
- Place the funnel on top of the filter and pour in the coffee grounds. Remove funnel.
- Pour the hot water over the top of the coffee grounds to the top line on the AeroPress.
- Quickly stir the coffee once using the paddle stirrer (which comes with the AeroPress), or a spoon.
- Plunge and press. Insert the plunger and press down firmly until you hear a “hiss” noise.
- Give the coffee a quick taste to see if you like the strength. You can add more boiling water to the coffee if you want it weaker. You can also split this cup into two and add extra hot water to make two servings.
Moka Pot
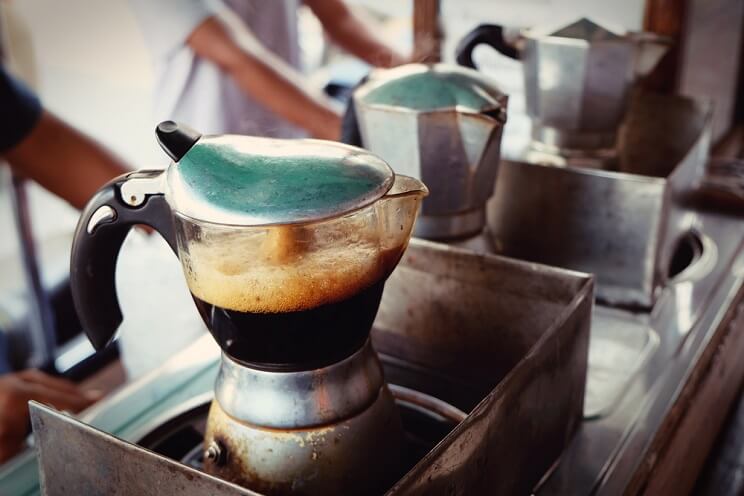
Benefits:
- No electricity needed (just a stove top flame).
- Inexpensive to purchase.
- Made with aluminum, which helps keep heat in.
- Concentrated, robust flavour.
Note: Some methods suggest using cold water in place of pre-boiled water in a Moka Pot, but this can actually boil the coffee before the coffee is extracted from the beans.
Caffeine Amount: Approximately 120 mg of caffeine per 8 oz.
Moka Pot Coffee
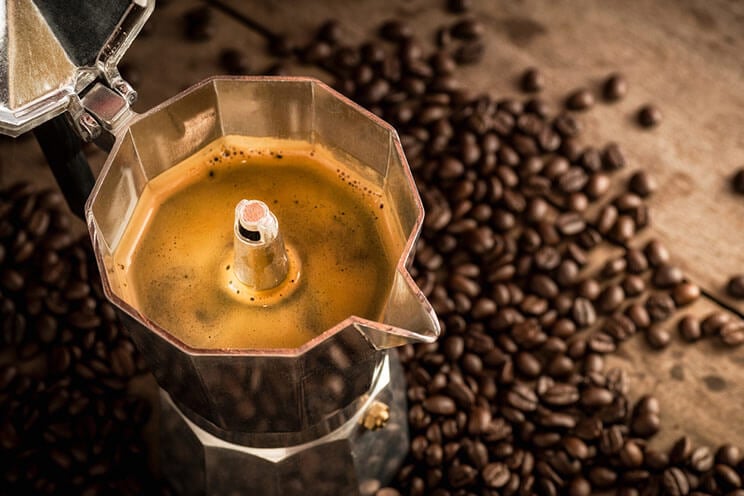

Moka Pot Coffee
Tools
- Coffee bean grinder
- Moka pot
- Damp towel
Ingredients
- Coffee beans
- Boiling hot water
Instructions
- Fill the Moka Pot’s lower chamber with cold water below the valve. You don’t want to fill past the valve, otherwise this can affect the taste of your coffee.
- Grind approximately 4 T of coffee beans (grounds should be medium-fine, but if the grounds are too fine, they can clog your equipment).
- Boil water and allow to cool for 1-2 minutes.
- Place boiling water into the bottom chamber of the Moka Pot.
- Insert the funnel into the Moka Pot, and fill it with coffee grounds. Give the grounds a shake to even them out, but don’t tamp them (this avoids clogging).
- Screw on the top of the Moka Pot.
- Place the Moka Pot on the stove element over medium heat.
- When the water begins to boil, the pressure slowly pushes the coffee through the upper chamber. If the coffee starts gurgling, turn the heat up slightly.
- Listen for a bubbling, hissing sound. This is when you know your coffee is done.
There’s no limit to the ways you can enjoy your coffee, and now you know which methods to look for in coffee shops that will cater to your taste preferences. Personally, our favourite “clean” coffee brewing methods for a full-bodied, delicious tasting cuppa are The Chemex, cold brew and good ol’ French Press.




 How HIIT Training Can Fix a Sluggish Thyroid


Show Comments