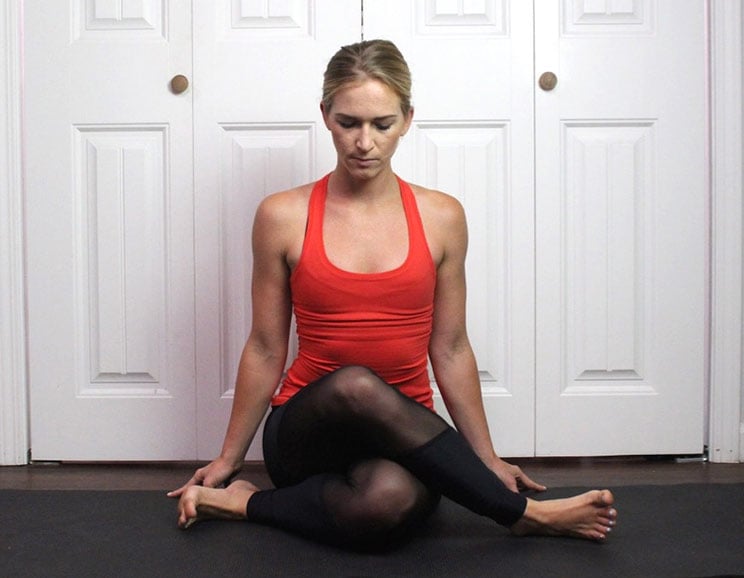
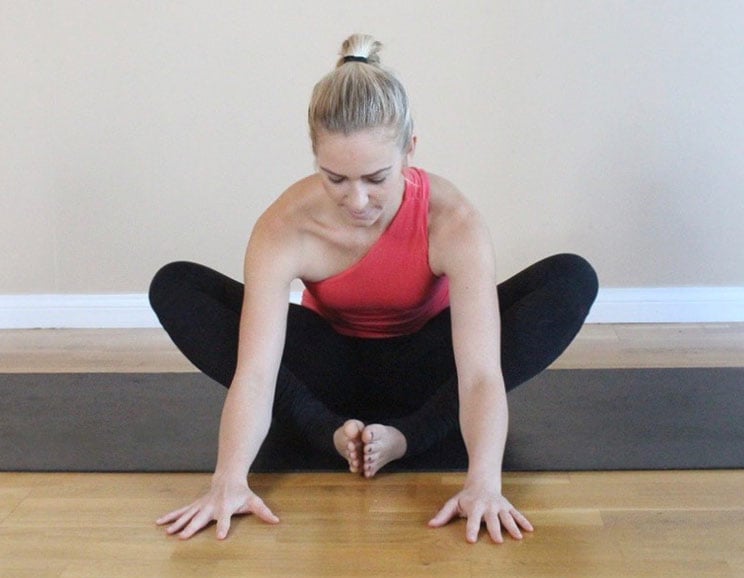
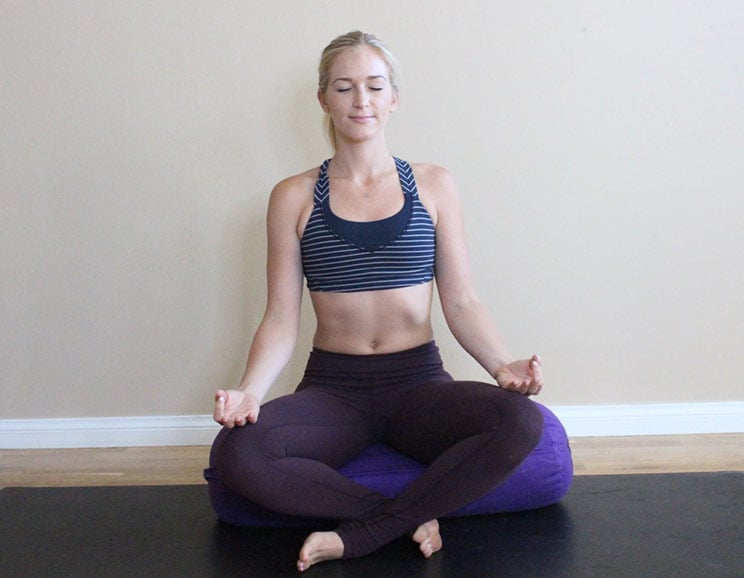
Discover easy yin yoga postures that are excellent for relaxation, rejuvenation, and calming your mind and body.
Yin implies a combination of poses and stillness. The focus is on proper alignment of the joints, connective tissues, and bones while breathing deep, settling in, and focusing on the moment.
It is considered the counterpart to Yang yoga, which is more popular with its fast paced flows and emphasis on muscular endurance, strength and tone.
Want to train your brain to be happier and healthier?
Click here to receive our FREE 7-Day Meditation Challenge!
Yin yoga requires attention, focus and determination to calm the mind. A beginner may attempt to hold these poses anywhere between 30 seconds to 2 minutes. A more advanced practitioner may be able to hold a pose for up to 5 minutes.
Remember the goal here is not a competition with anyone else – the goal is to focus and calm your own mind. However long it takes for you to come to a place of stillness is how long you should be holding your poses.
Feeling uncomfortable in the first few moments of a pose is natural, but you will be surprised to feel how much your muscle tissues, tendons, and ligaments will settle into the posture after just a few deep breaths. In other words, don’t quit before the good part.
5 Essential Yin Yoga Poses for Stress Relief
These basic yin yoga postures are excellent for a beginner to start with, but can also be used by practitioners of every level.
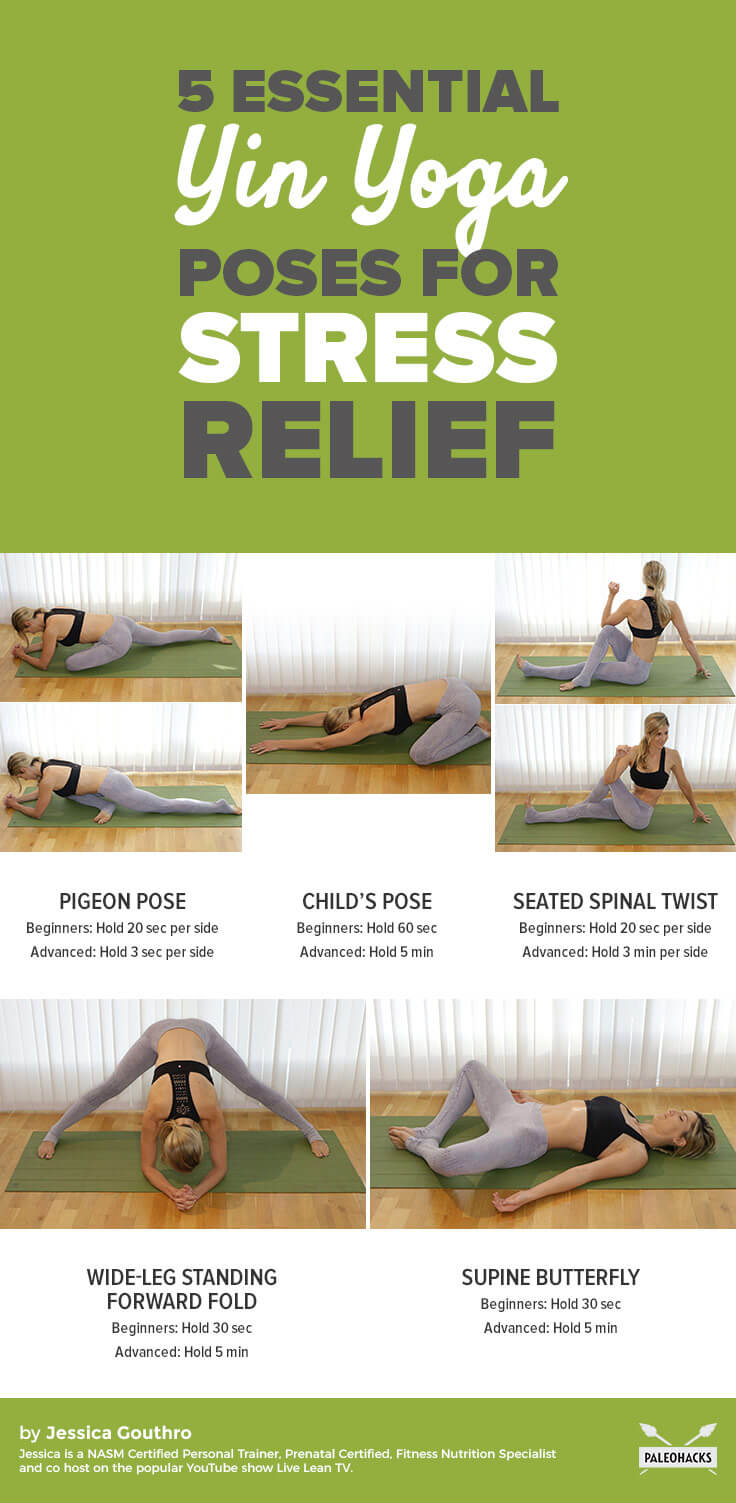
Pigeon Pose
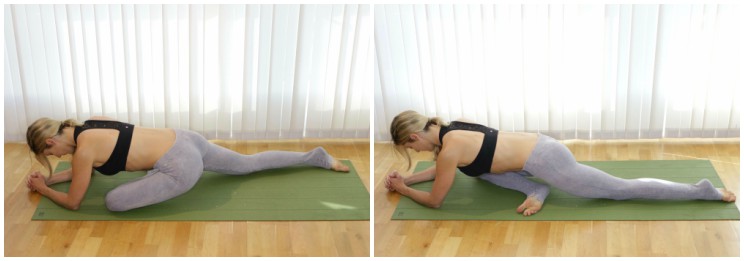
It is believed that much of our emotional tension is held in the hips. This pose will gently release tension and may even help you let go of emotional stress in the physical process. You will likely feel a very tight pull towards the outside of your hip; do not force your way into this yin yoga pose, but rather relax and breathe your way through the tightness.
How to Do the Pigeon Pose:
Start in an elbow plank position. Step one leg all the way up to the top of the mat, placing your shin down onto the mat with your heel close to the opposite hip. Flex the foot of your front leg while relaxing the foot of your back leg.
Do a mental body scan to make sure you aren’t holding any tension in your shoulders, neck, fingers, toes or forehead. Once you have achieved the yin yoga posture, your only job is to relax into it and allow time and breathing to take you deeper. Focus on breathing deeply, allowing relaxation of your hip muscles.
Pigeon Pose Tips:
- Keeping your foot flexed is important to protect the knee joint. Do not relax the front foot. If you feel knee pain, keep adjusting until you no longer feel that pain in your knee. The goal here is to work on the hips, not the knees.
- Aim to keep your hips square to the ground rather than twisted.
- You may choose to keep your upper body propped up by your elbows or you can relax all the way down to the ground supporting your forehead with your hands. If it feels too intense from the elbows, then prop up on your hands to get even higher.
How Long Do I Hold This Pose?
Beginners: Hold 20 sec per side
Advanced: Hold 3 sec per side
Child’s Pose
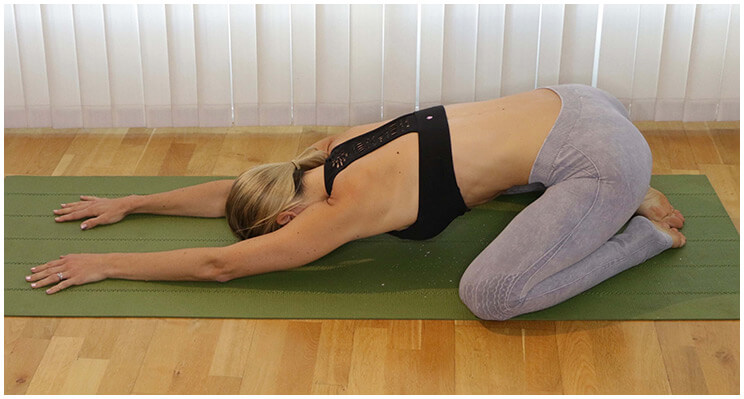
Child’s pose is one of the most relaxing, soothing and gentle yoga poses. If you experience lower back pain or stiffness, you will love the stretch and release in your lower back found with this pose.
How to Do the Child’s Pose:
Start in a kneeling position towards the back of your mat. Keep your feet close together, almost touching, but separate your knees to the width of your mat.
Walk your hands forward as far as they can go, paying attention to keep your hips over your heels. Place your forehead down on the mat and relax your face, neck and shoulders. Breathe deeply, stretching just a little bit more in both directions with each breath.
Child’s Pose Tip:
- You should feel as if you are stretching in two different directions: back with your hips and forward with your arms.
How Long Should I Hold This Pose?
Beginners: Hold 60 sec
Advanced: Hold 5 min
Seated Spinal Twist
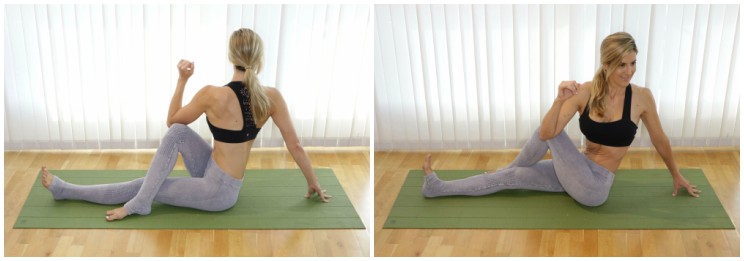
Twisting is excellent for relieving lower back tension and promoting digestive health. You will also feel a good stretch and release across the middle of your back and your hip.
How to Do the Seated Spinal Twist:
Start in a seated position on your mat with your legs extended out in front of you. Bend one knee and place the foot flat on the mat just outside of your other knee so that this leg is crossing over the straight leg. Hook your opposite elbow outside the bent knee and press into it to create the twist in your spine.
Place your other hand onto the mat behind you with tented fingers, pressing down to lift your shoulder up and rotate even further. Use your knee to press into your elbow at the same time as using your elbow to press into your knee. Breathe deeply and aim to rotate and lift even more with each breath.
Seated Spinal Twist Tips:
- Although you will also feel a stretch in your hip, aim to keep your focus on lengthening your spine.
- Do not perform this pose if you have a spine or back injury.
How Long Should I Hold This Pose?
Beginners: Hold 20 sec per side
Advanced: Hold 3 min per side
Wide-Leg Standing Forward Fold
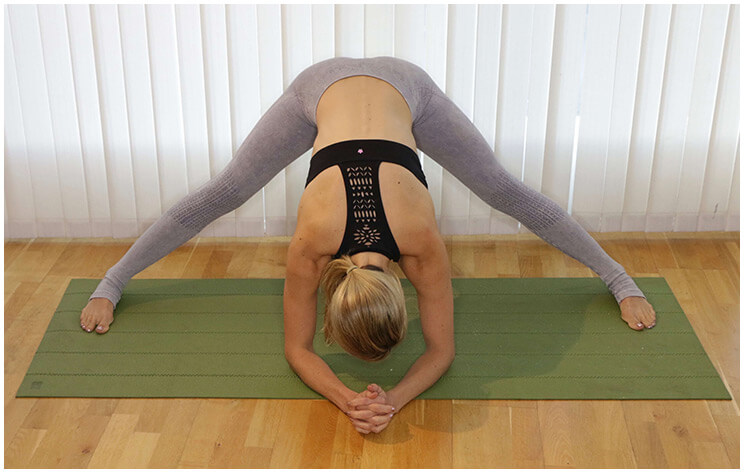
This version of a forward fold is especially relaxing for a yin yoga practice because it is more stable than a traditional narrow stance forward fold and will allow you to feel a stretch and relief in your lower back.
How to Do the Wide Leg Standing Forward Fold:
Start by standing and opening your feet very wide, to either edge of your mat. Your toes should be pointing straight ahead and your heels firmly planted into the ground.
Bend forward at your hips while keeping your knees fully straight. Place your elbows lightly on the ground on the front edge of your mat with your hands interlaced.
Keep the pressure on your heels and touch the ground lightly with your elbows without placing too much weight on your upper body. Allow your head to relax forward and relieve any tension in your neck. Breathe deeply.
Wide-Leg Standing Forward Fold Tip:
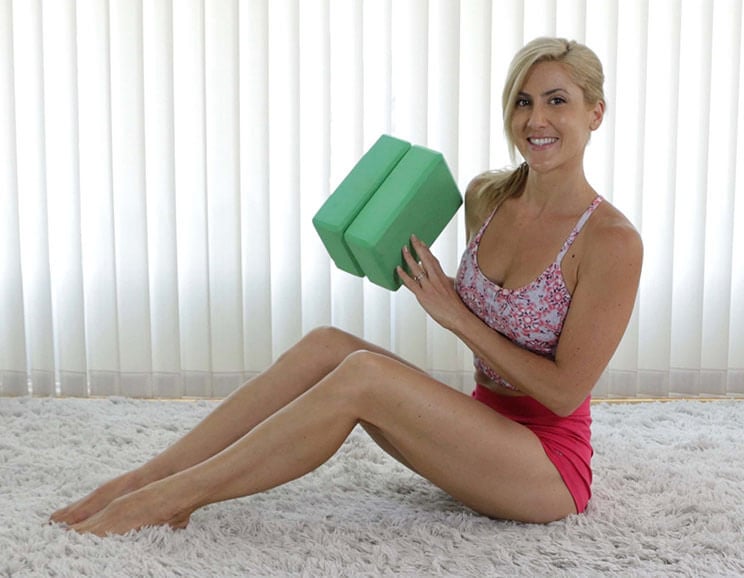
- If it is difficult for your hands to reach the floor, place yoga blocks under your hands.
How Long Should I Hold This Pose?
Beginners: Hold 30 sec
Advanced: Hold 5 min
Supine Butterfly
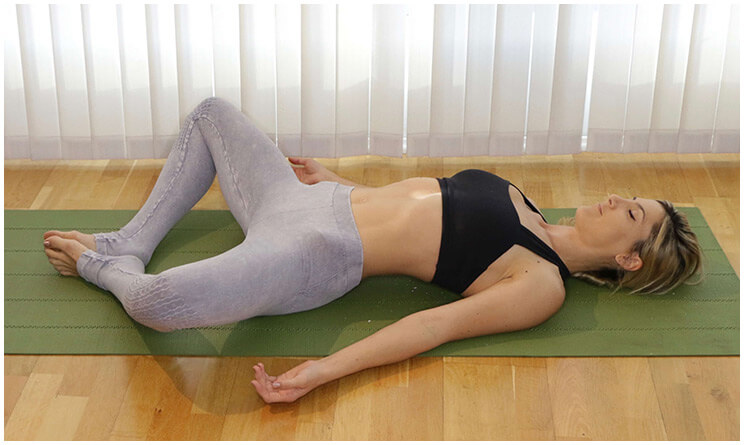
Ending with this pose is a great way to sink into deep relaxation. Butterfly legs allow gravity to open your hips while the shoulder alignment will help train good posture.
How to Do the Supine Butterfly:
Start by lying flat on your back. Bring the soles of your feet together to touch and place them about 1 to 2 feet below your hips. Allow your knees to fall open to the sides.
Adjust your shoulders so that your chest feels lifted and your shoulders roll back. Lift your chin just slightly, allowing for a clear pathway for your breath. There should be a slight curve of your lower back so that your spine is in a neutral position rather than pressed to the ground.
Lay your arms out by your sides, with your palms facing up in a relaxed and comfortable position. Breathe and focus on stillness.
Supine Butterfly Tip:
- Although this pose may seem passive, you can continue to work your knees closer to the ground with each deep breath.
How Long Should I Hold This Pose?
Beginners: Hold 30 sec
Advanced: Hold 5 min
Final Tips
The best thing about yin yoga is the opportunity to relax, tune out, and allow yourself to be still for a few moments during a busy day.
If you are having a hard time committing to a complete home yoga practice, I suggest just starting with one of these poses. Just one. For just 30 seconds to a minute. The benefit and pay off to your mood, attitude, and ability to feel refreshed and relaxed will still be significant and noticeable.
Come back to these postures whenever you feel frantic or anxious, and feel the stress melt away.


 Sticky Sweet Caramelized Baked Chicken Legs
Show Comments