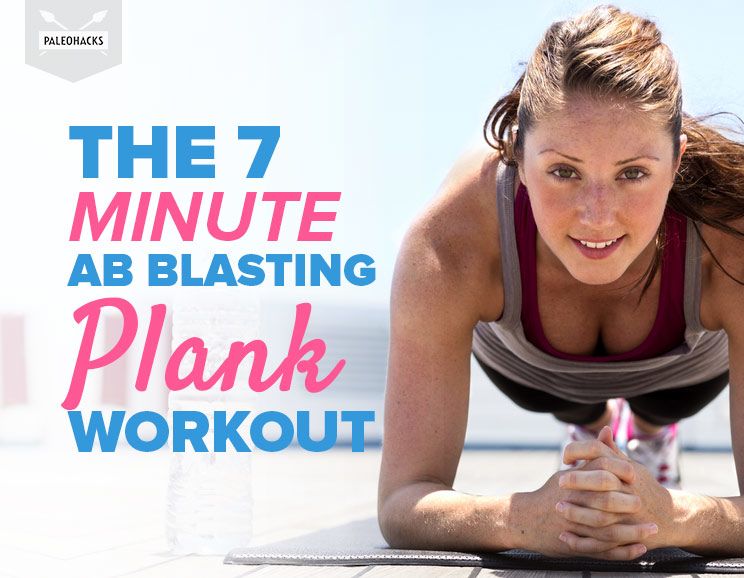
Ask any trainer how to get great abs without hundreds of crunches, and they’ll tell you the same thing — do planks. Read on to learn how to do them effectively, and get started with a 360º plank workout.
Planks are a full-body exercise that strengthen your abdominals, arms, shoulders, back, and even your legs. Compared to crunches, which isolate the outer abdominals, planks engage the deep core muscles that support the spine and house the internal organs… but more on that in a moment.
Before we dive into discussing why you should do planks, let’s take a moment to break down this exercise and learn the mechanics of the movement.
Looking for an easy way to get started working out?
Grab our FREE Beginners Workout Guide - 3 Weeks To Tighter Abs, Sculpted Arms, And Toned Legs, by clicking here!
How to Do the Perfect Plank
Planks are not easy. Even after you increase your strength and endurance you will still find them challenging (if you’re doing them properly). Holding a perfect plank requires internal and external strength, as well as an awareness of physical alignment.
Although planks do strengthen your arms, the primary focus should be on abdominal engagement. Think of the abdominals as the hammock holding up your spine during plank exercises — the more you can contract the abs, the less “dead-weight” you’ll dump into your arms and hands.
To set-up a perfect plank, you need to consider each body part in isolation, from the head to the heels. I’ll show you how:
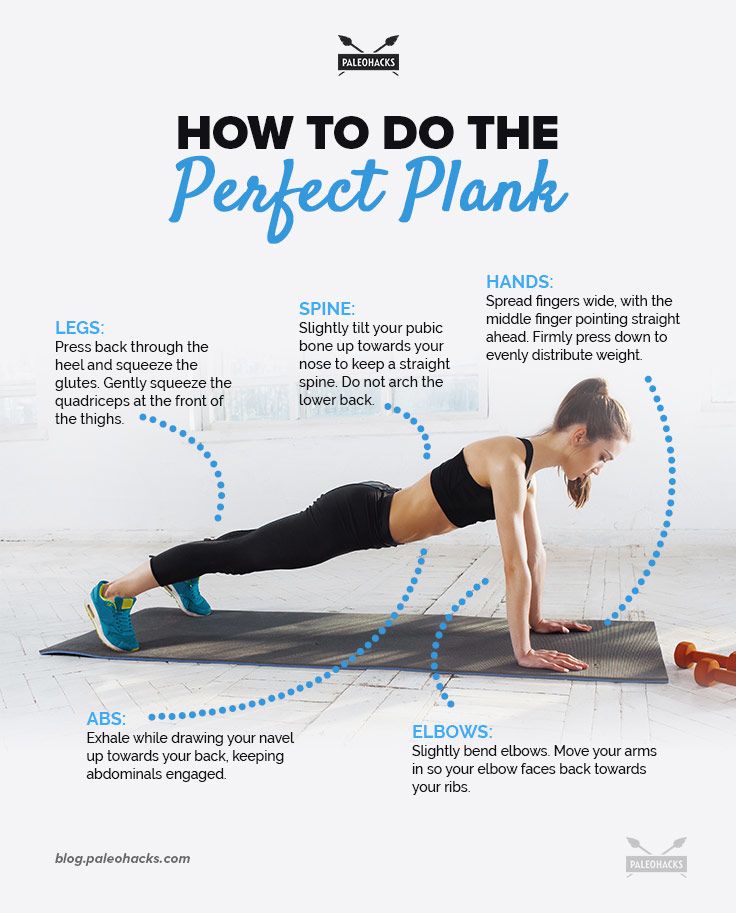
Start on all fours: Wrists under the shoulders and the knees under the hips.
Hand position: Spread the fingers wide, with the middle finger pointing straight ahead. Firmly press down through the fingertips, the underside of the knuckles, the thumb, and the heel of the hand. This evenly distributes the weight and releases pressure from your wrists.
Elbow position: Without moving your hands, spiral your inner elbow forward so that the bicep muscle is pointing towards the front and your elbow faces back towards your ribs. This engages the upper back muscles and encourages the tricep muscle to work efficiently. Always keep a slight bend in your elbow.
Spine Position: Lengthen your spine by visualizing a string that is pulling the crown of the head forward and the tailbone back. Very slightly tilt your pubic bone up towards your nose — this will stop you from over-arching the low back.
Abdominal Connection: Without changing the shape of your spine, EXHALE and draw your navel up towards your back, pulling your abdominals away from your shirt. This is different from inhaling and sucking your belly button in. Imagine your flat abdominal wall pulling up to your back like an elevator.
Extend one leg back, tucking the toes under. Nothing else in your body should have changed!
Leg Position: Press back through the heel and squeeze the glutes to activate the back of the leg. Then imagine that you are pushing the hamstring up to the ceiling — the knee should be straight but not hyper-extended. Gently squeeze the quadriceps at the front of the thighs.
Extend the other leg back so that it matches the first. Your body is now in one long line from your throat to your heels.
Hold the plank: continue to squeeze your abs, squeeze your backside and firmly press away from the floor with your arms and legs. Think: “Light as a feather, stiff as a board.”
Modification: if you notice tension or pain in your lower back, you haven’t fully engaged the abdominals. Drop to your knees to release some of the work through the upper body and focus on your form.
Plank Anatomy 101
The primary muscles strengthened in planks are the core muscles, including transverse abdominis and erector spinae.
The transverse abdominis are the deepest layer of abdominals that lie underneath the six-pack, and they work to stabilize the trunk. The erector spinae is a set of muscles that run along the spine that straighten and rotate the back. The internal and external obliques are another set of core muscles that are activated in side planks. These muscles are responsible for rotating and stabilizing your trunk.
In addition to the abdominals, planks also engage muscles in the shoulders, chest, back and legs.
The Benefits of Planks over Crunches
A strong core strengthens and stabilizes the spine, which prevents injury, improves posture and mobility, and even aids bodily functions such as breathing and digestion (1) (2) (3). And yes, it can help to flatten your belly.
However, because the core is most effectively activated from a neutral spine position (4), crunches — movement that flex the spine — aren’t always beneficial. In fact, overuse of the rectus abdominis (the six-pack muscle) may lead to injury (5).
Planks are one of the most effective movements to strengthen the core. By first engaging the deep abdominal muscles, and then holding that isometric contraction, you are able to build strength, stability and endurance.
7-Minute Plank Workout
For each move in this 7-minute plank workout, I’ll show you how to perform the exercise as well as a common mistake. Each move is only repeated once, and the duration of each position depends on your fitness level:
- Beginner – Hold each position for 20 seconds, rest for 40 seconds
- Intermediate – Hold each position for 40 seconds, rest for 20 seconds
- Advanced – Hold each position for 50 seconds, rest for 10 seconds
The rest period is important: don’t skip it, even if you are advanced! Taking a quick break not only releases pressure from your wrists, it also to allow you to re-engage the transversus abdominis and correct your form from head-to-toe.
Front Plank
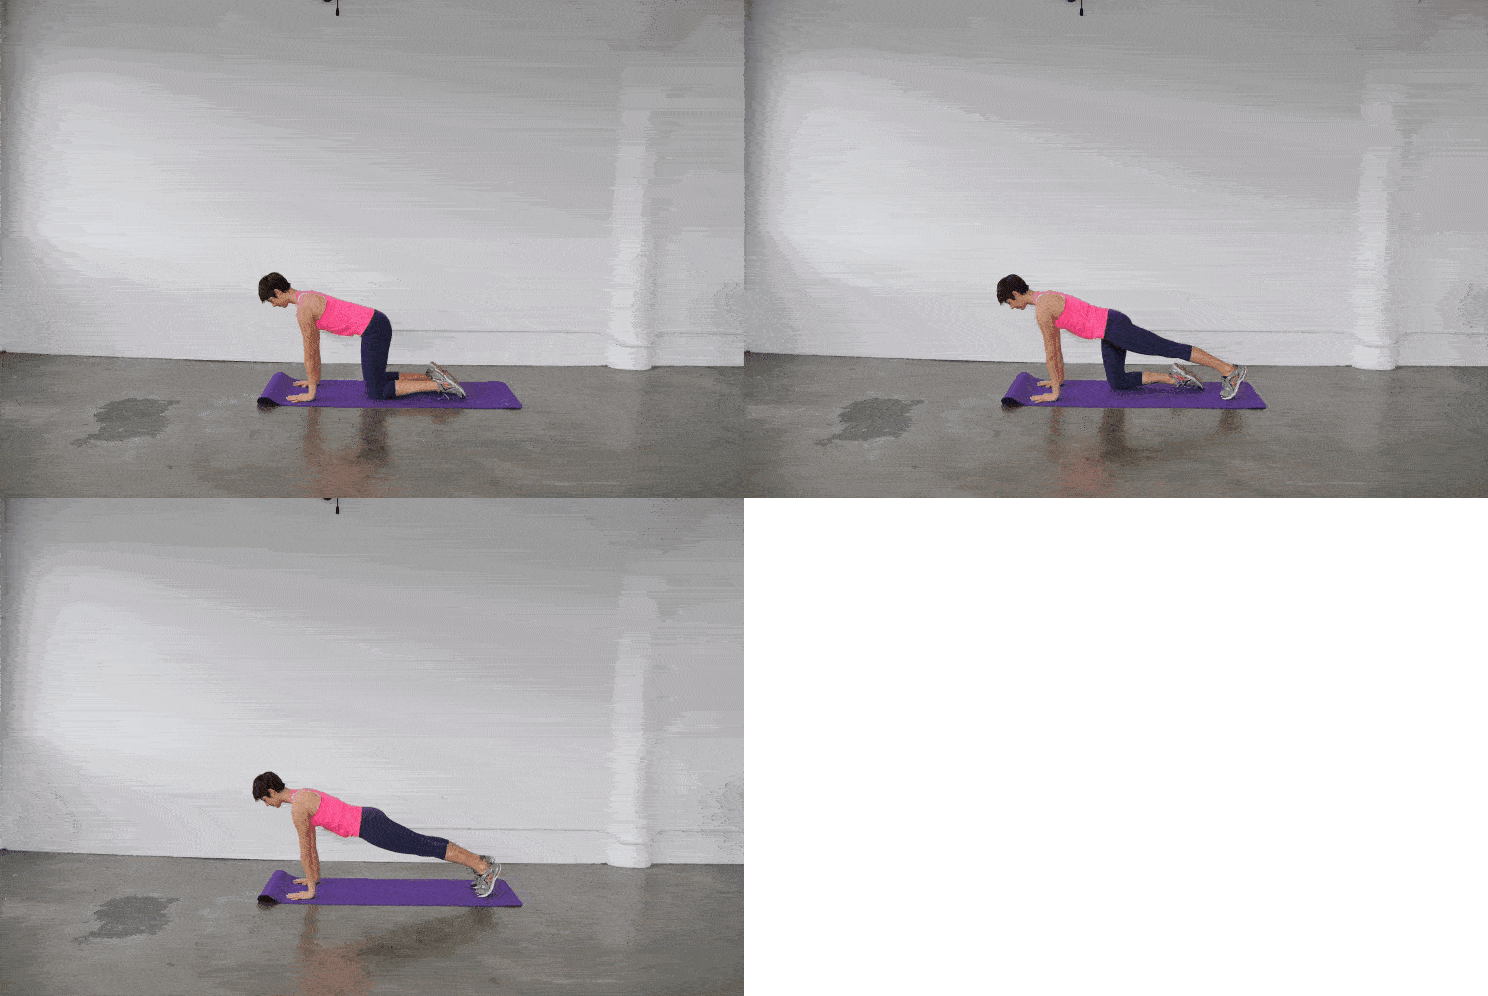
Common Mistake: Sagging in the lower back means that your abs aren’t engaged. Keep the hips lifted and lower back long and flat, and modify by lowering your knees.
Forearm Plank
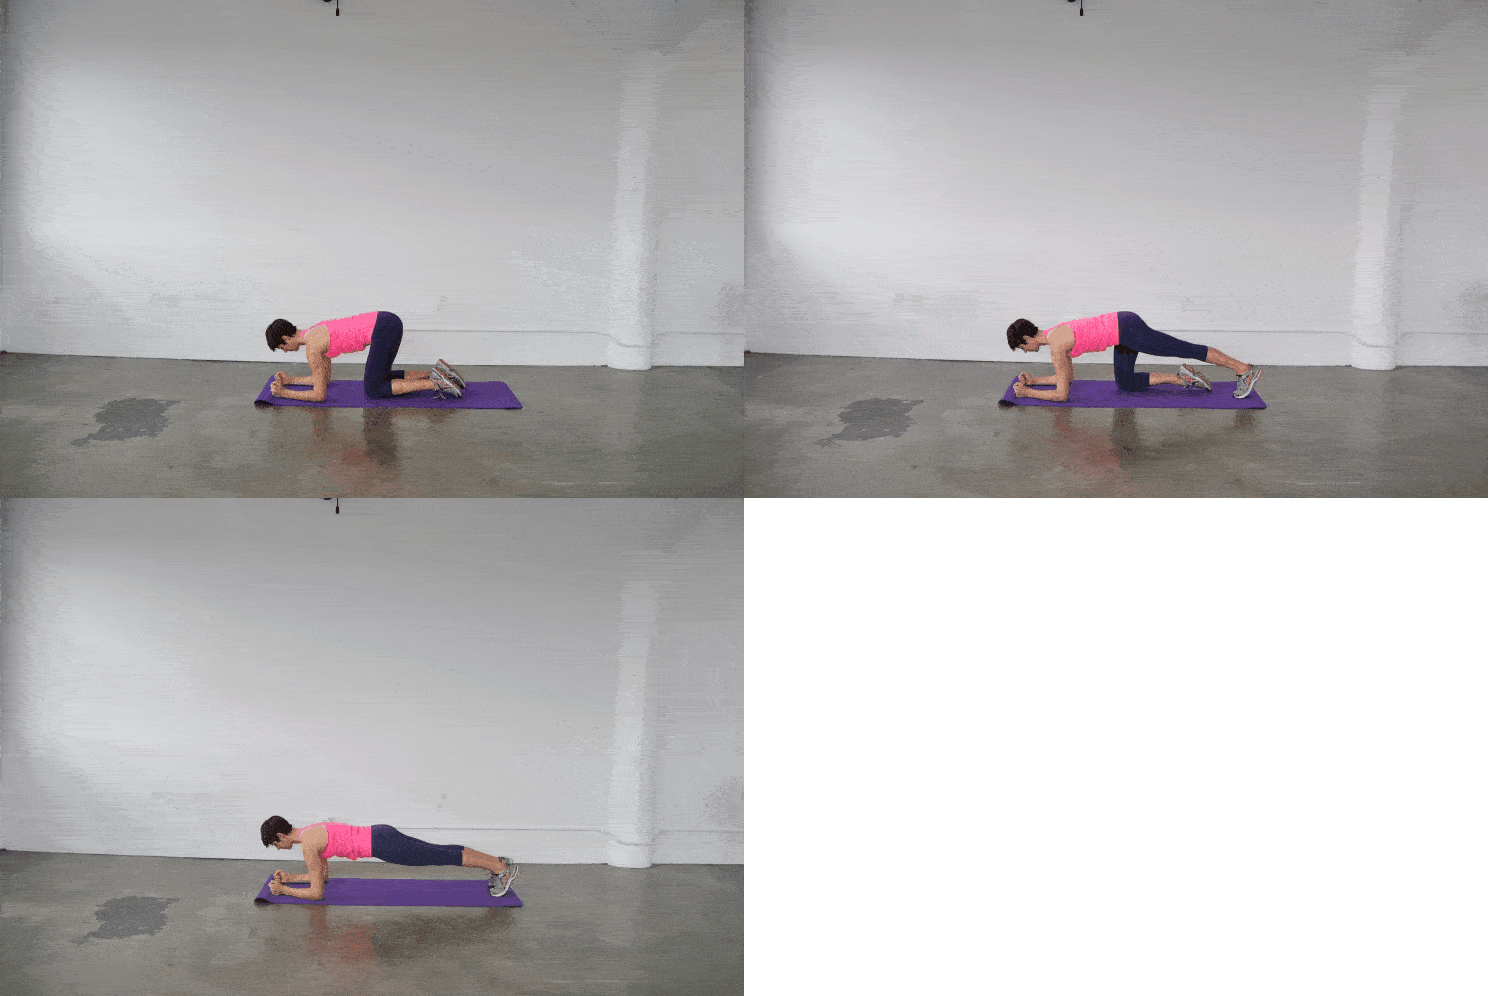
Common Mistake: Collapsing between the shoulder blades means that you’ve lost your mid-back connection. This dumps a lot of pressure into your arms, and can add strain to the neck. Press firmly into both forearms; imagine that you are pushing yourself away from the floor and pressing the upper back up towards the ceiling.
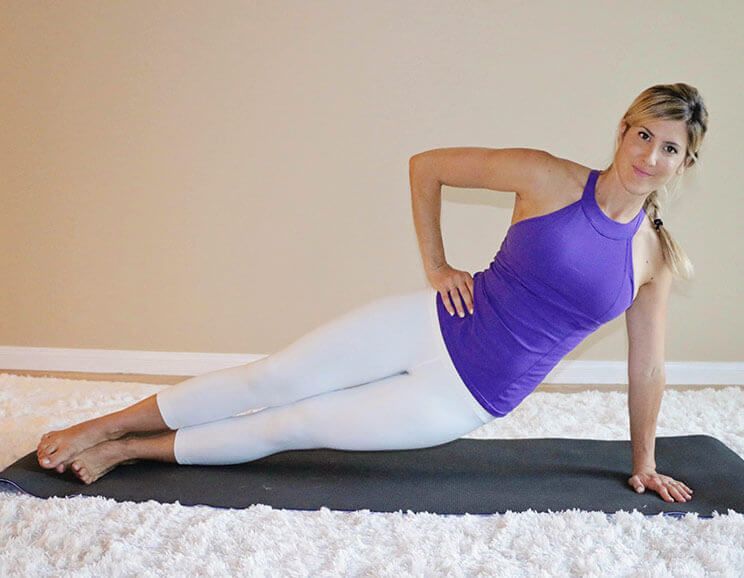
Forearm Side Plank (Left and Right)
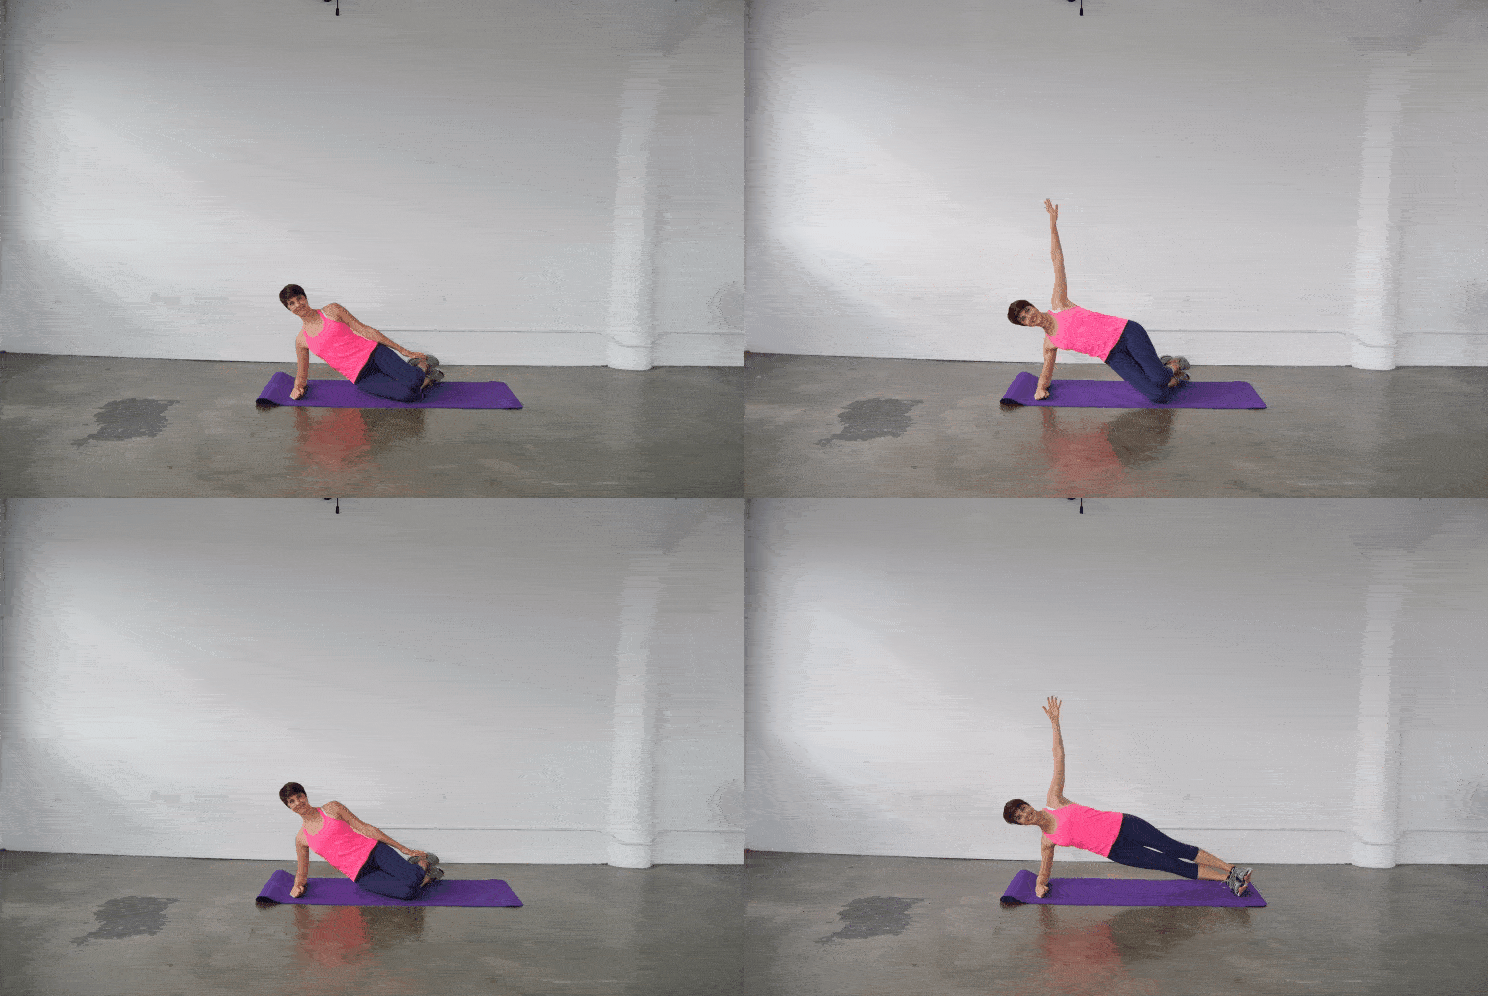
Common Mistake: Rotating the pelvis puts pressure on the lower back. Keep one hip stacked directly above the other, and focus on drawing the waist up towards the ceiling like a rainbow.
Knee Tucks
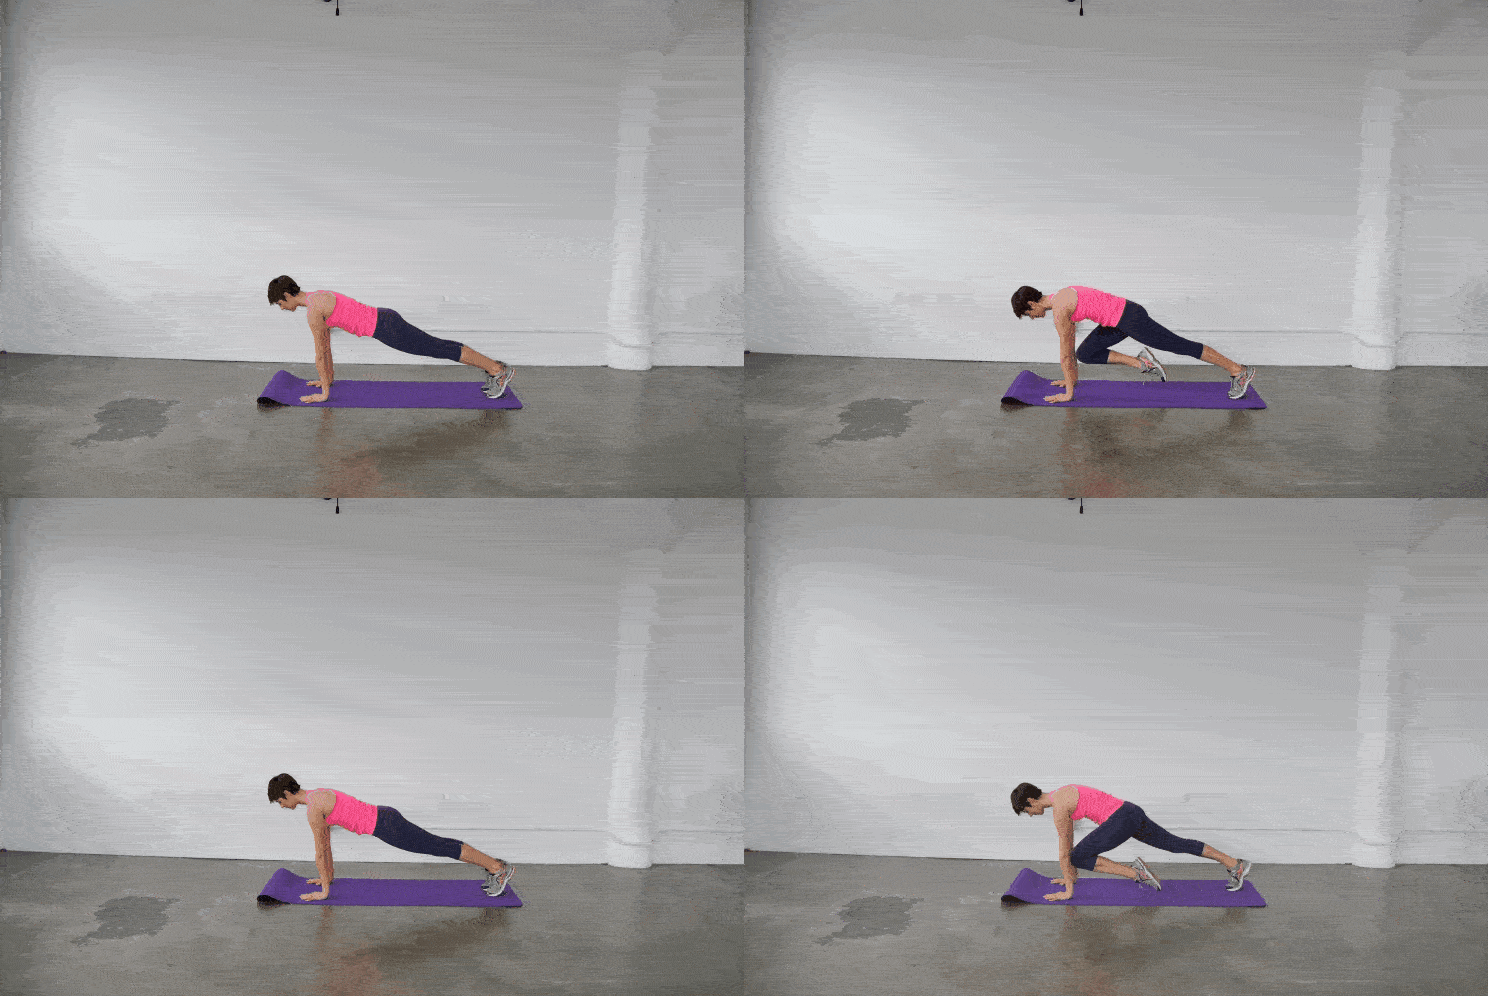
Common Mistake: Rounding the upper back changes the neutral plank position and eliminates the benefit from the pose. Keep the spine completely still as you bring the knees forward, decreasing the range of motion as needed.
Hip Swivels
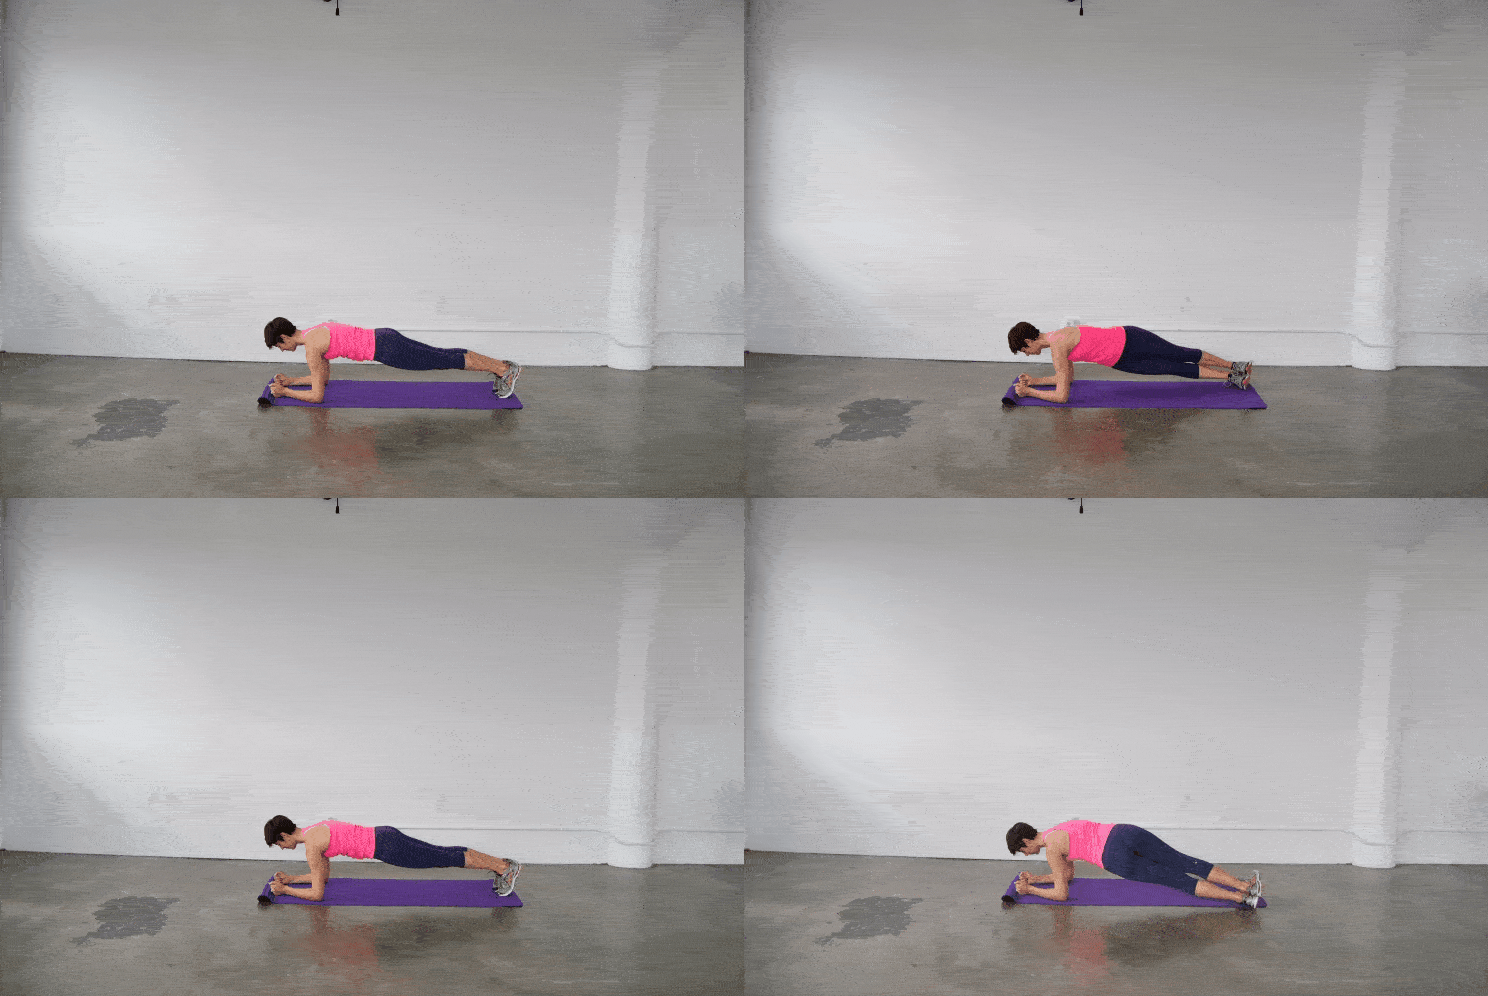
Common Mistake: Releasing the elbow takes away from the oblique rotation, and puts unnecessary stress on the supporting shoulder. Keep both arms pressing firmly into the ground.
Reverse Plank (Intermediate)
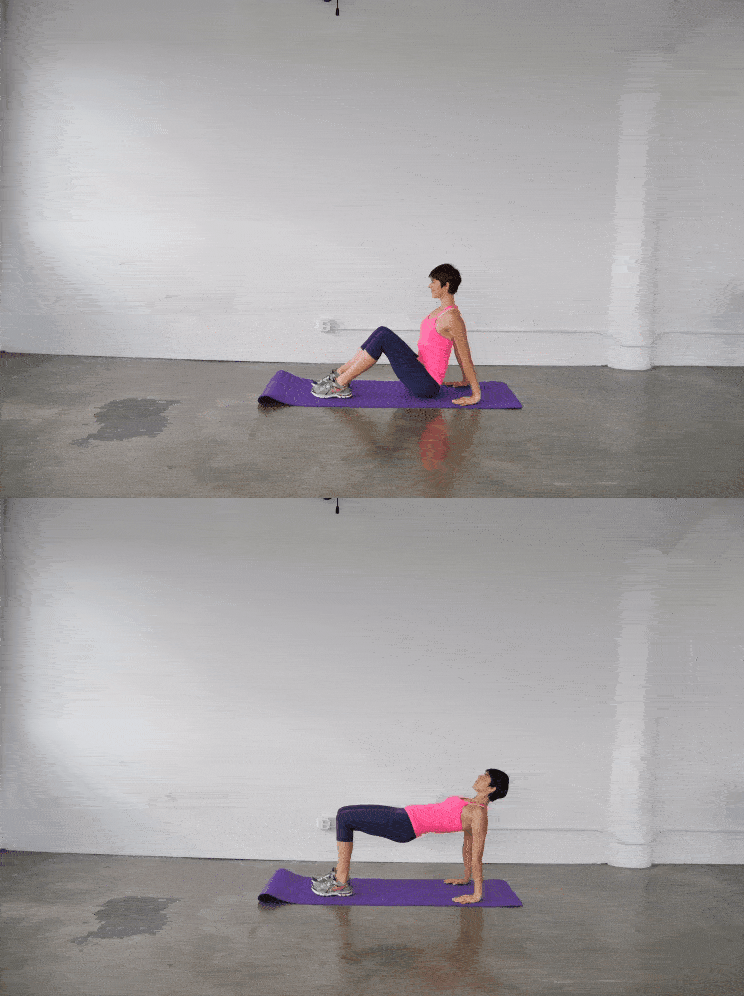
Common Mistake: Dropping into your shoulders means that you aren’t activating your arms and legs enough. Firmly press into the hands and imagine pressing the chest up and away from the shoulders.
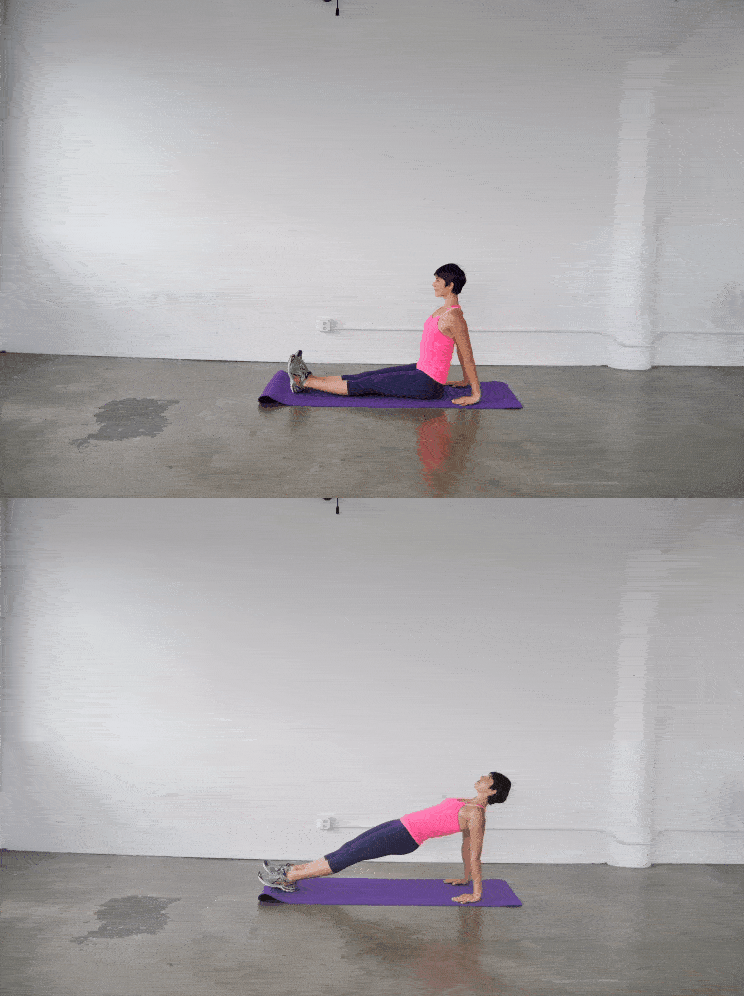
Reverse Plank (Advanced)


 Straighten Up: How to Fix Posture

Show Comments